Creating a Schedule
1. On a room’s climate control page you will see a button labeled Schedule. Select this button to access this room’s primary schedule.
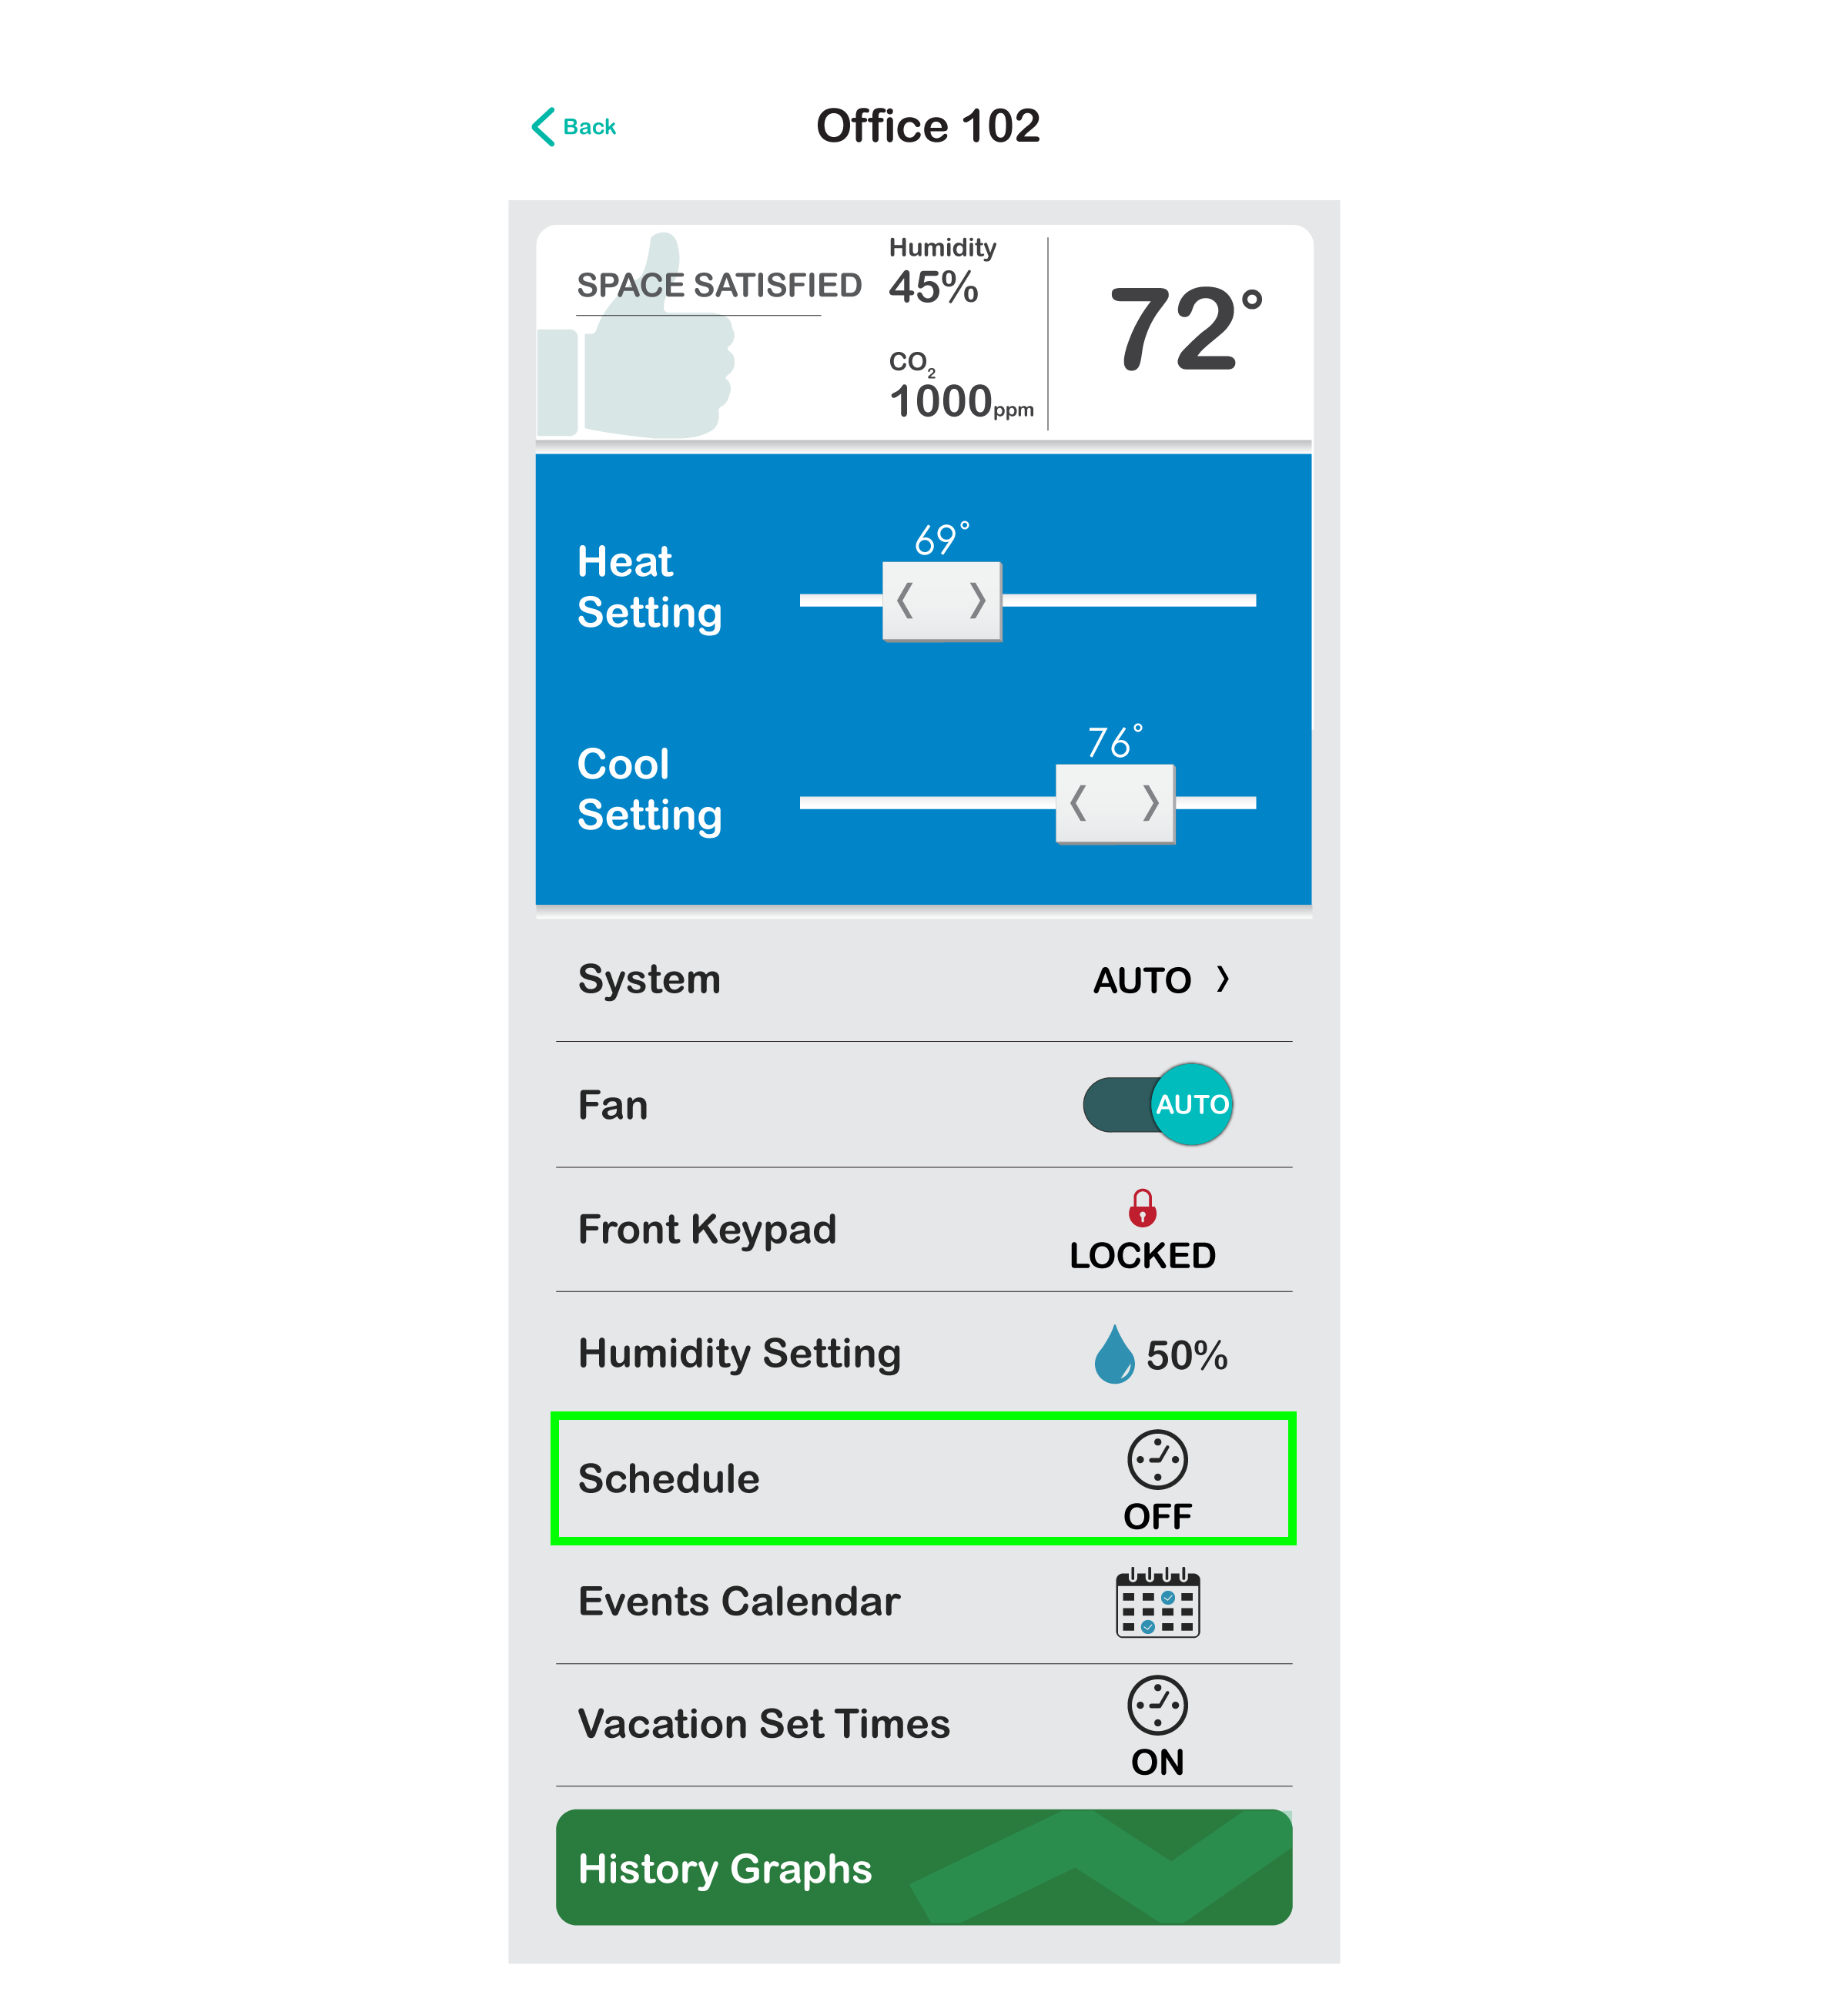
2. A room’s schedule section adjusts, so it will display however the room’s schedule is currently set. In our example below, the room’s schedule was set to OFF.
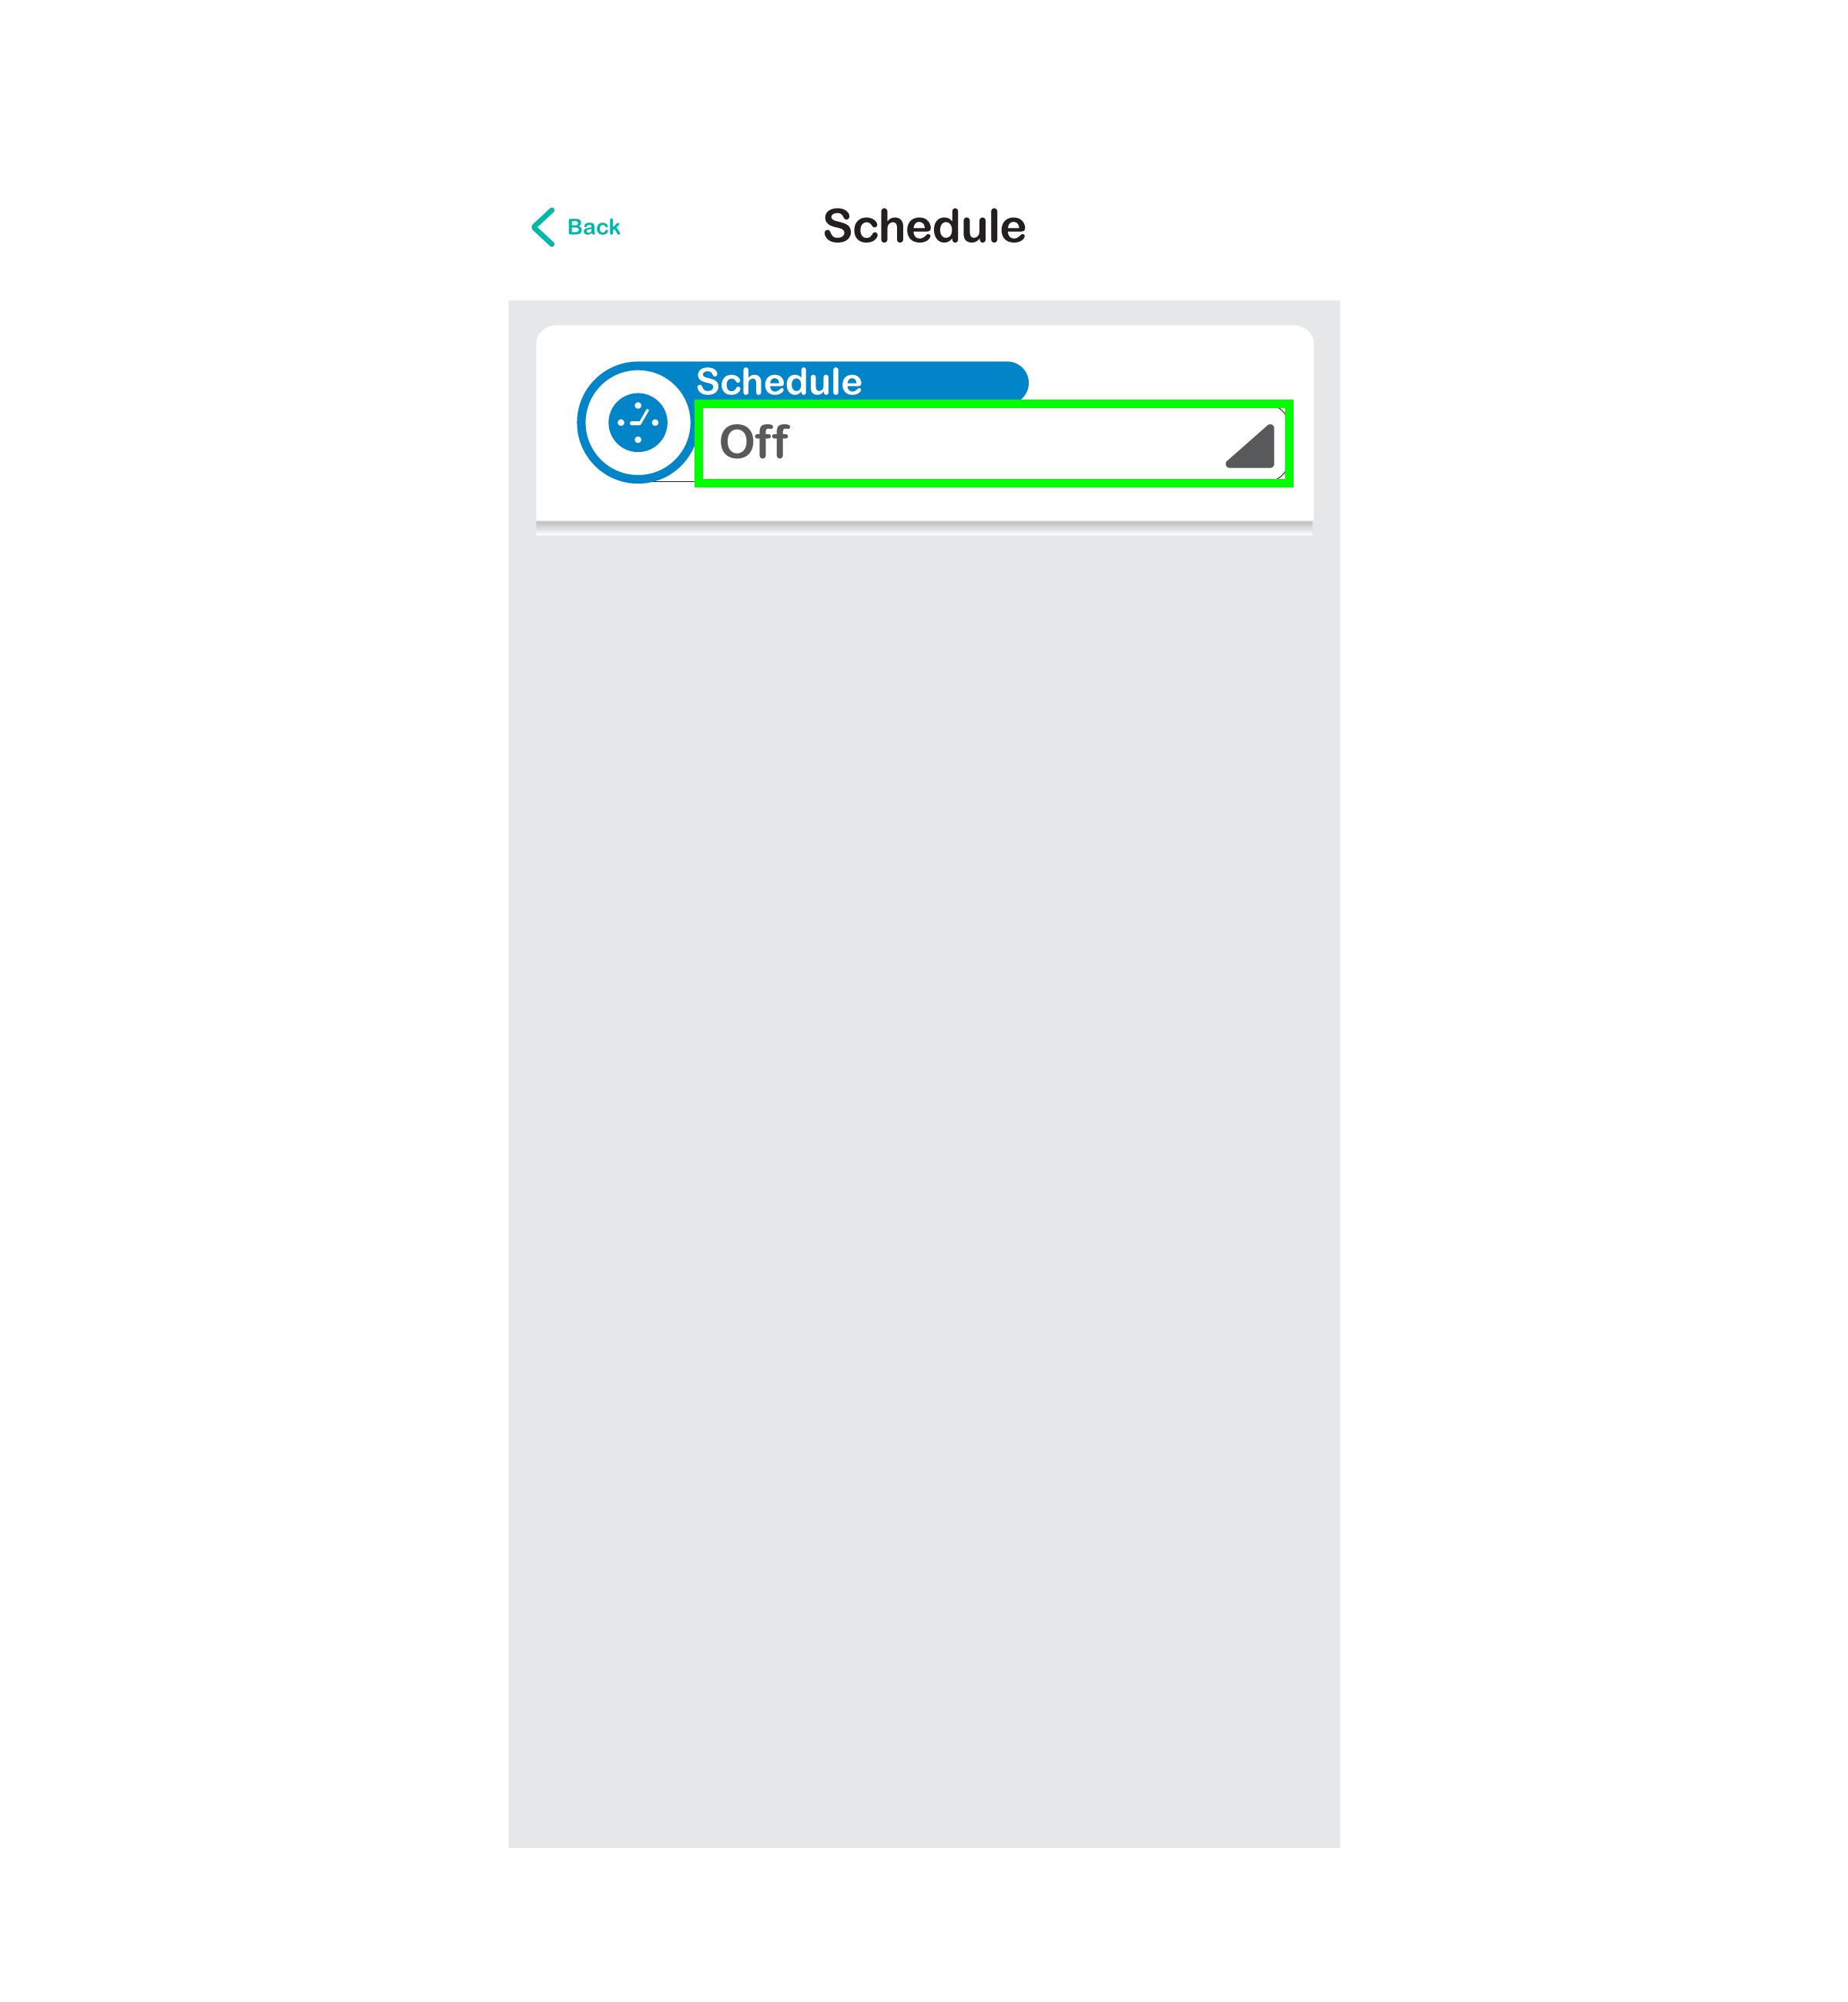
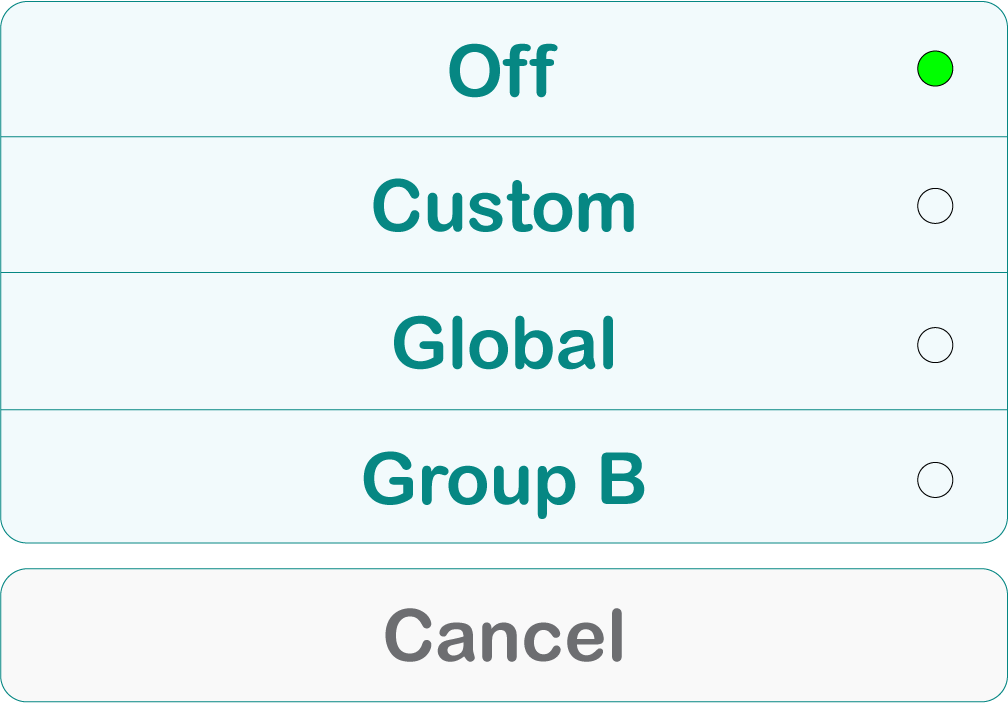
3. Select the drop down arrow below Schedule to pull up a list. This list can include to following options:
4. In this example we are going to select CUSTOM and make a unique schedule just for this room.
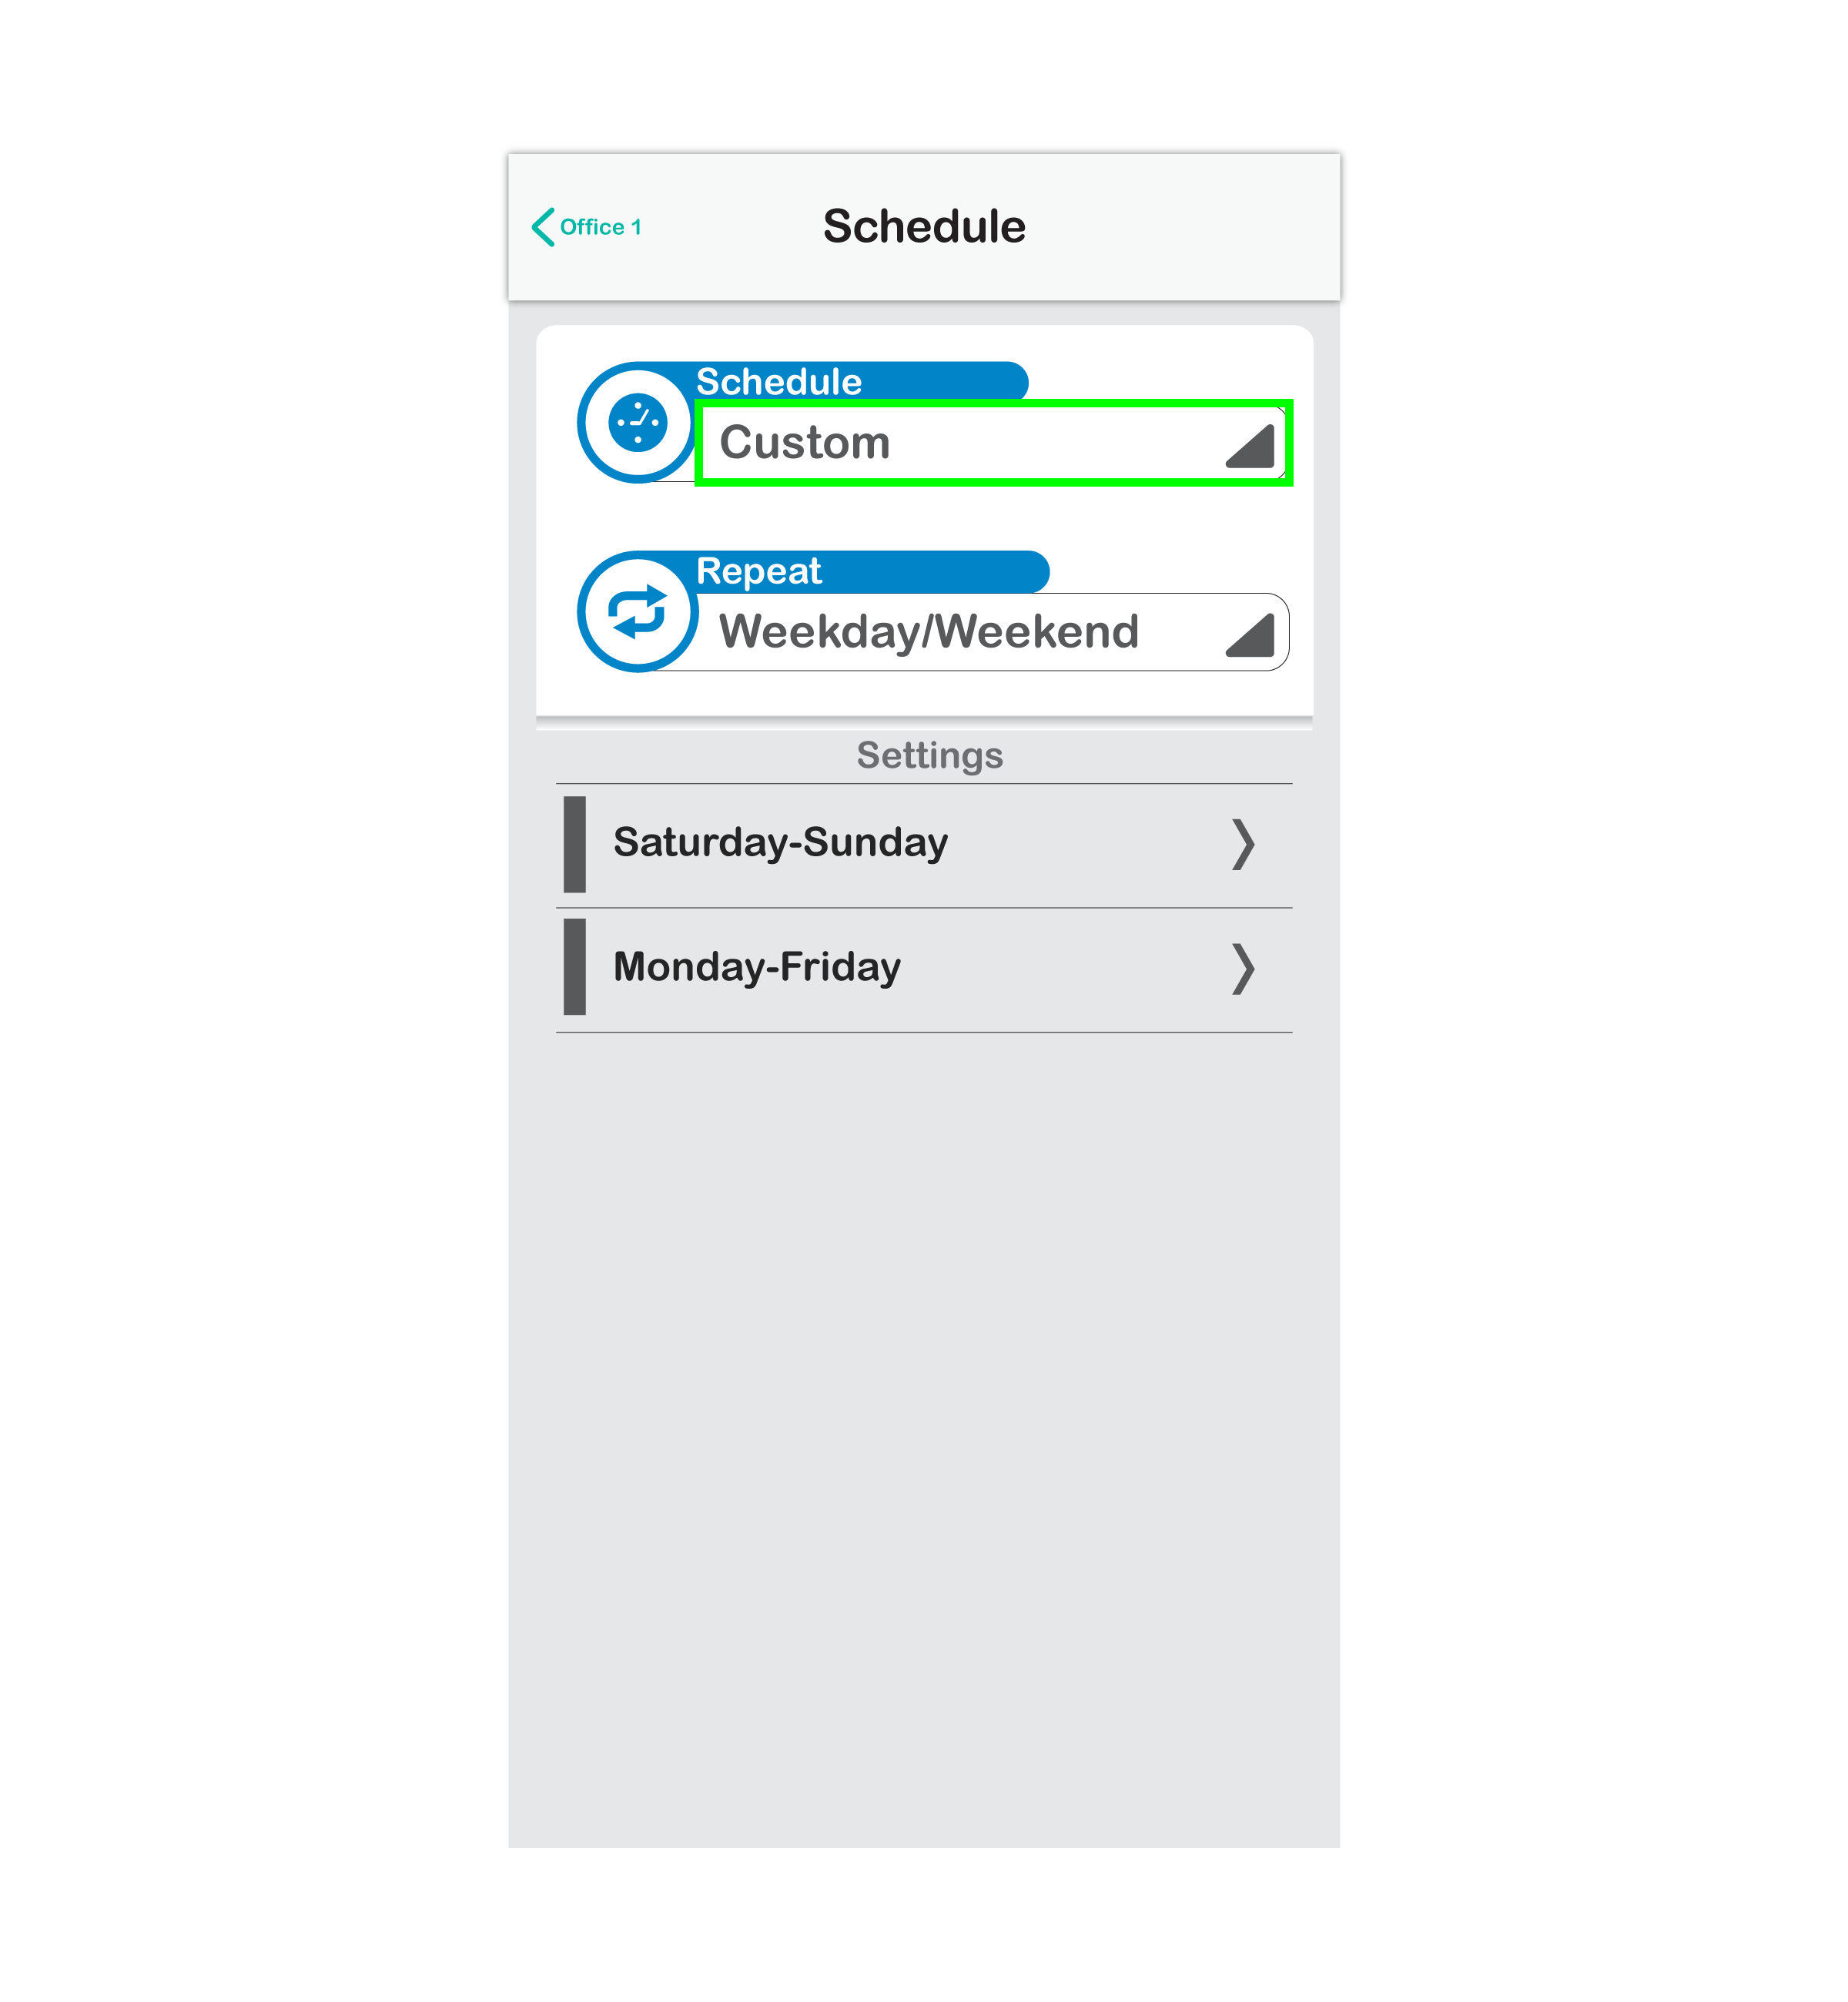
5. The first item to decide is how you want your schedules to REPEAT over the week.
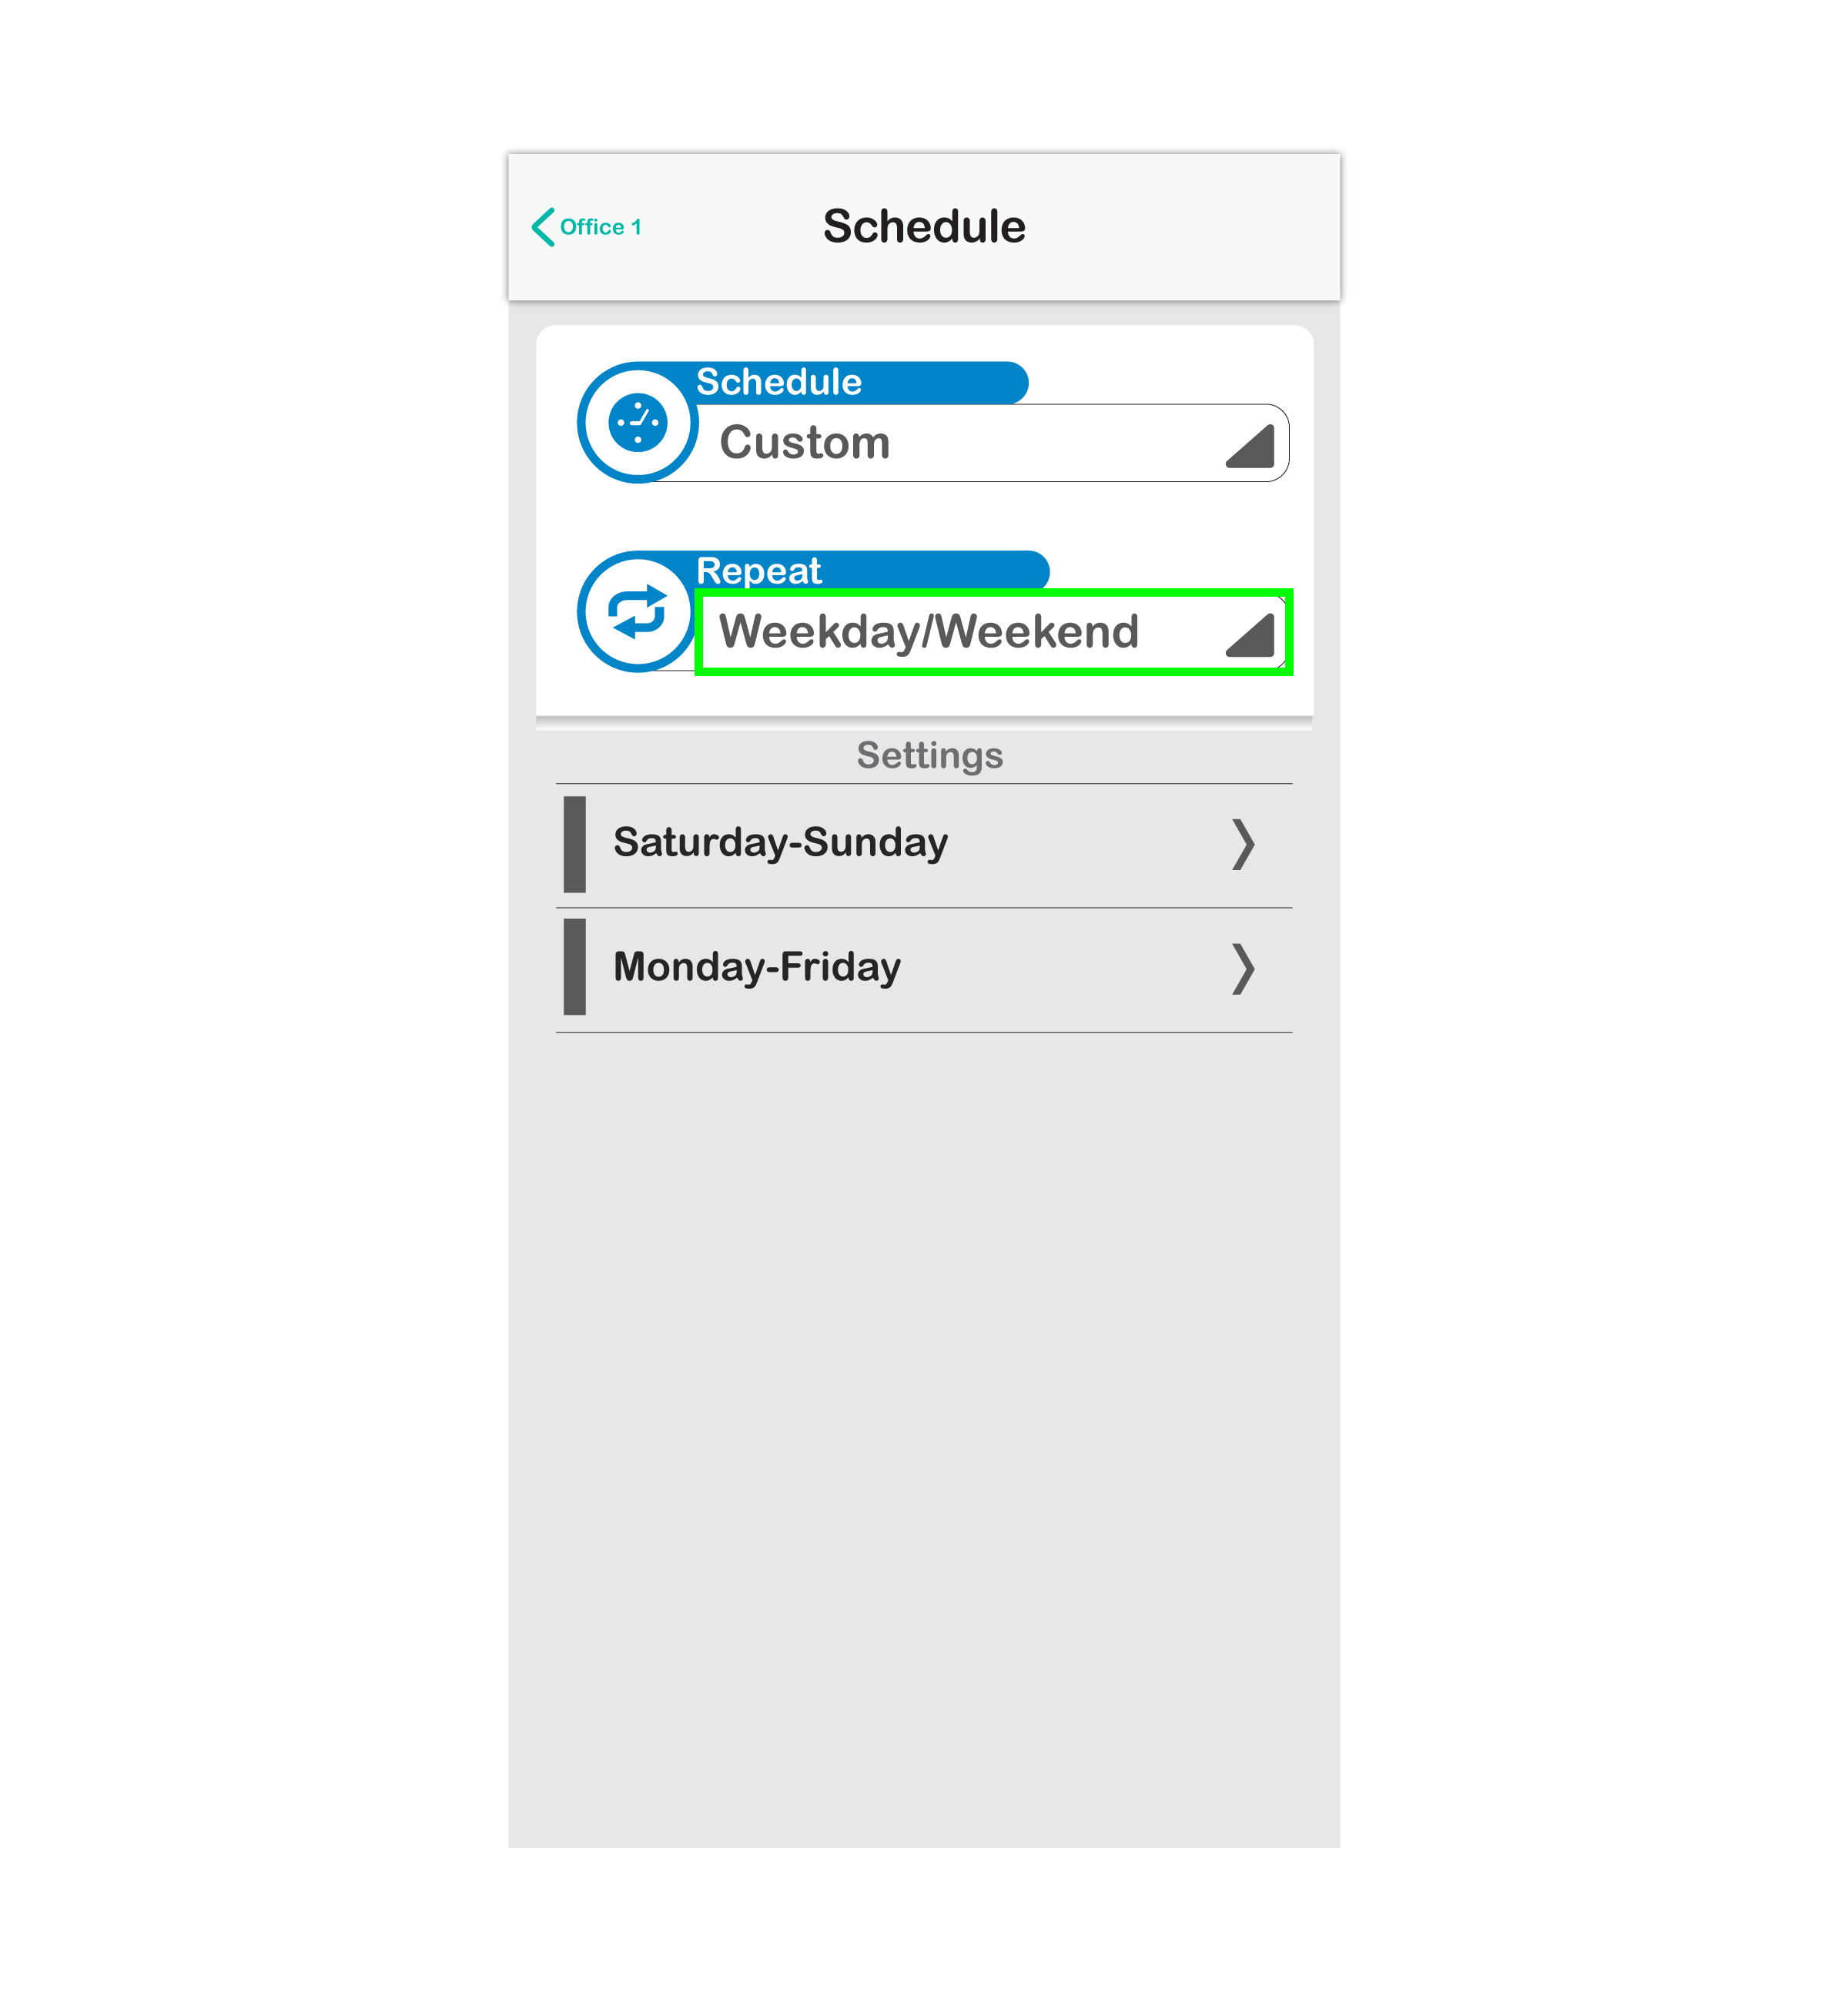
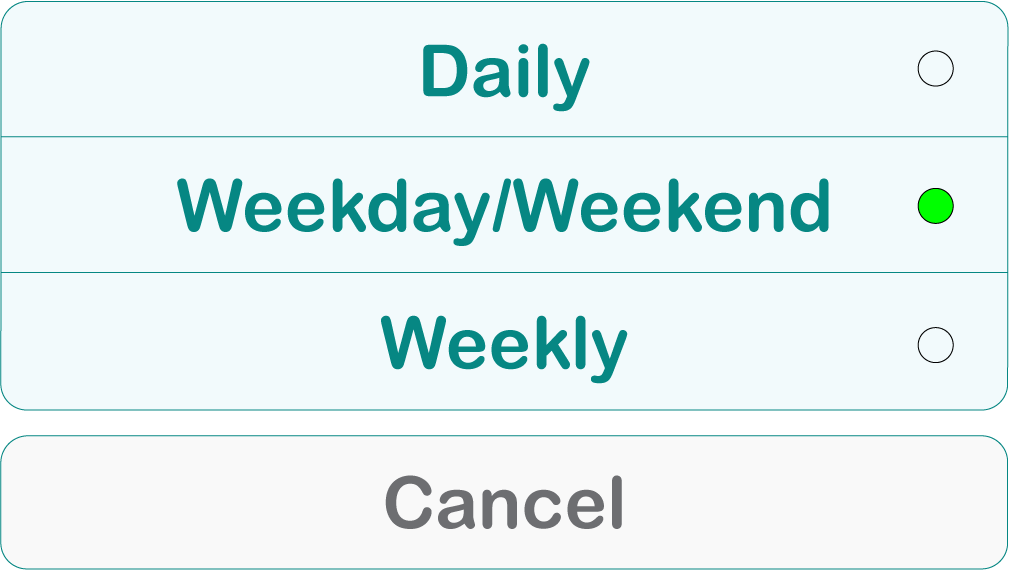
6. Select the drop down arrow below REPEAT to pull up a list. This list will include:
7. In this example we are going to select WEEKDAY/WEEKEND, since the process of creating the actual schedules are the same between the different Repeat selections.

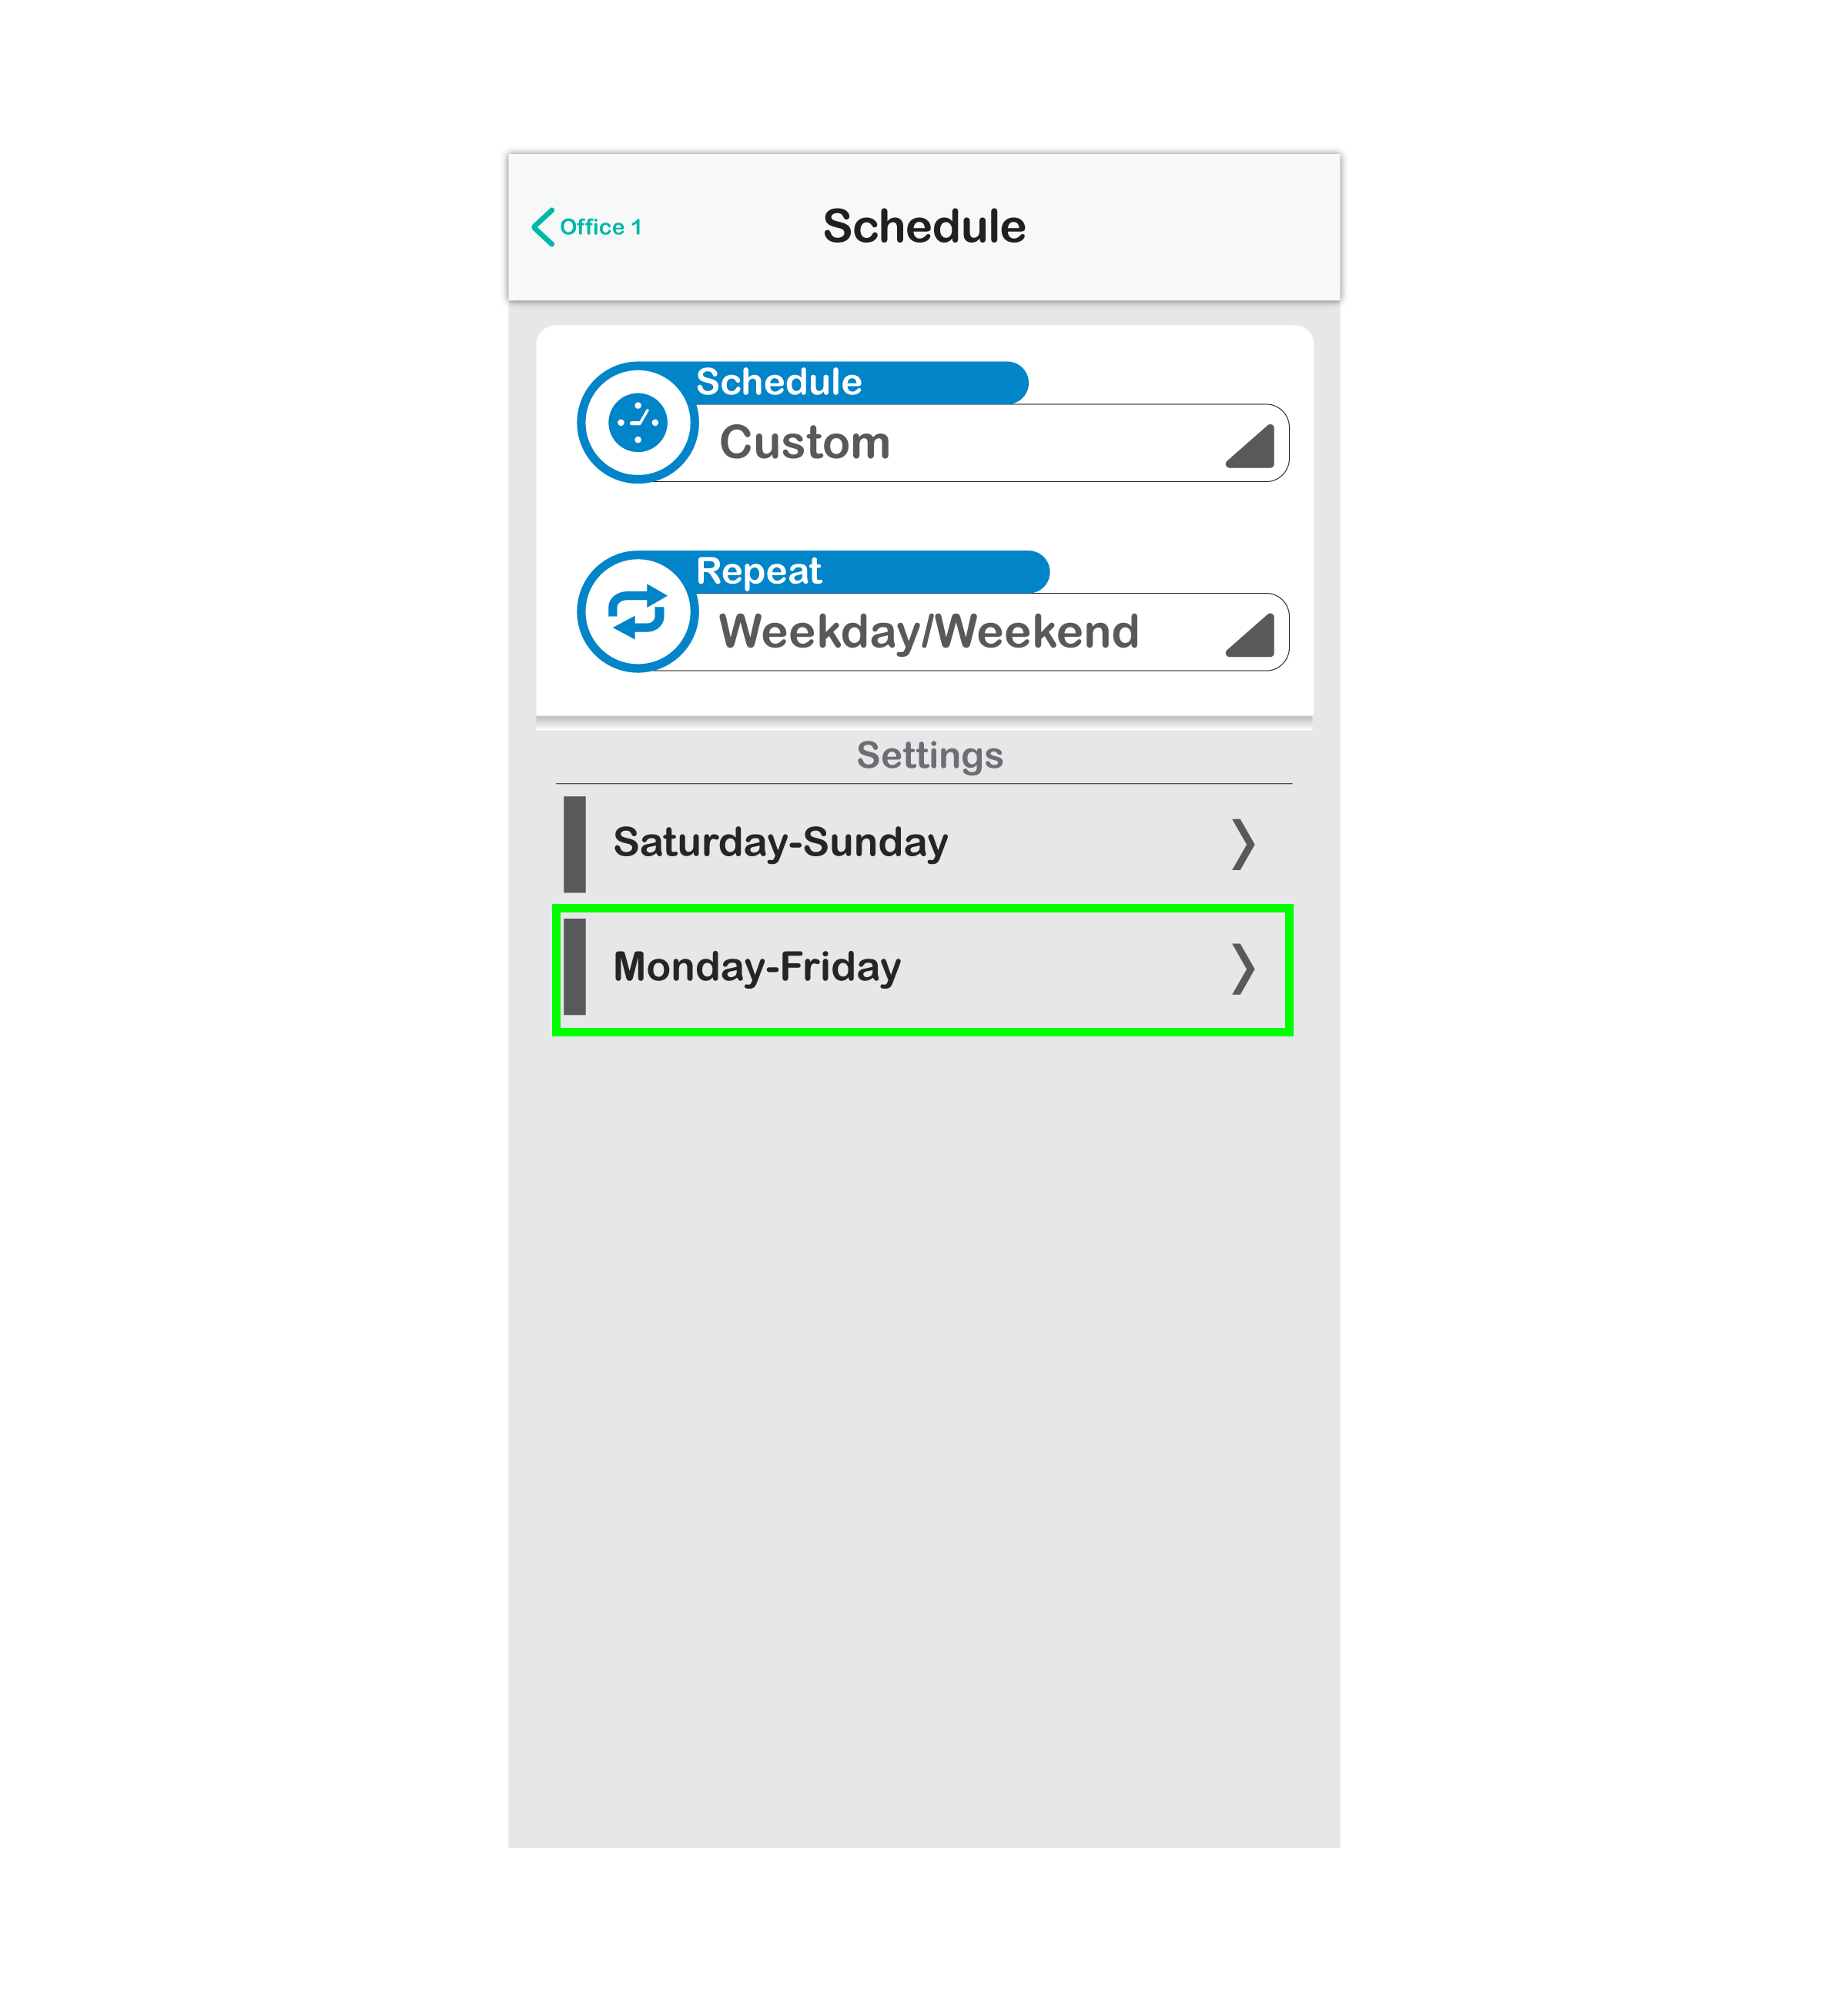
8. Lets start with setting our Monday-Friday schedule by selecting Monday-Friday.
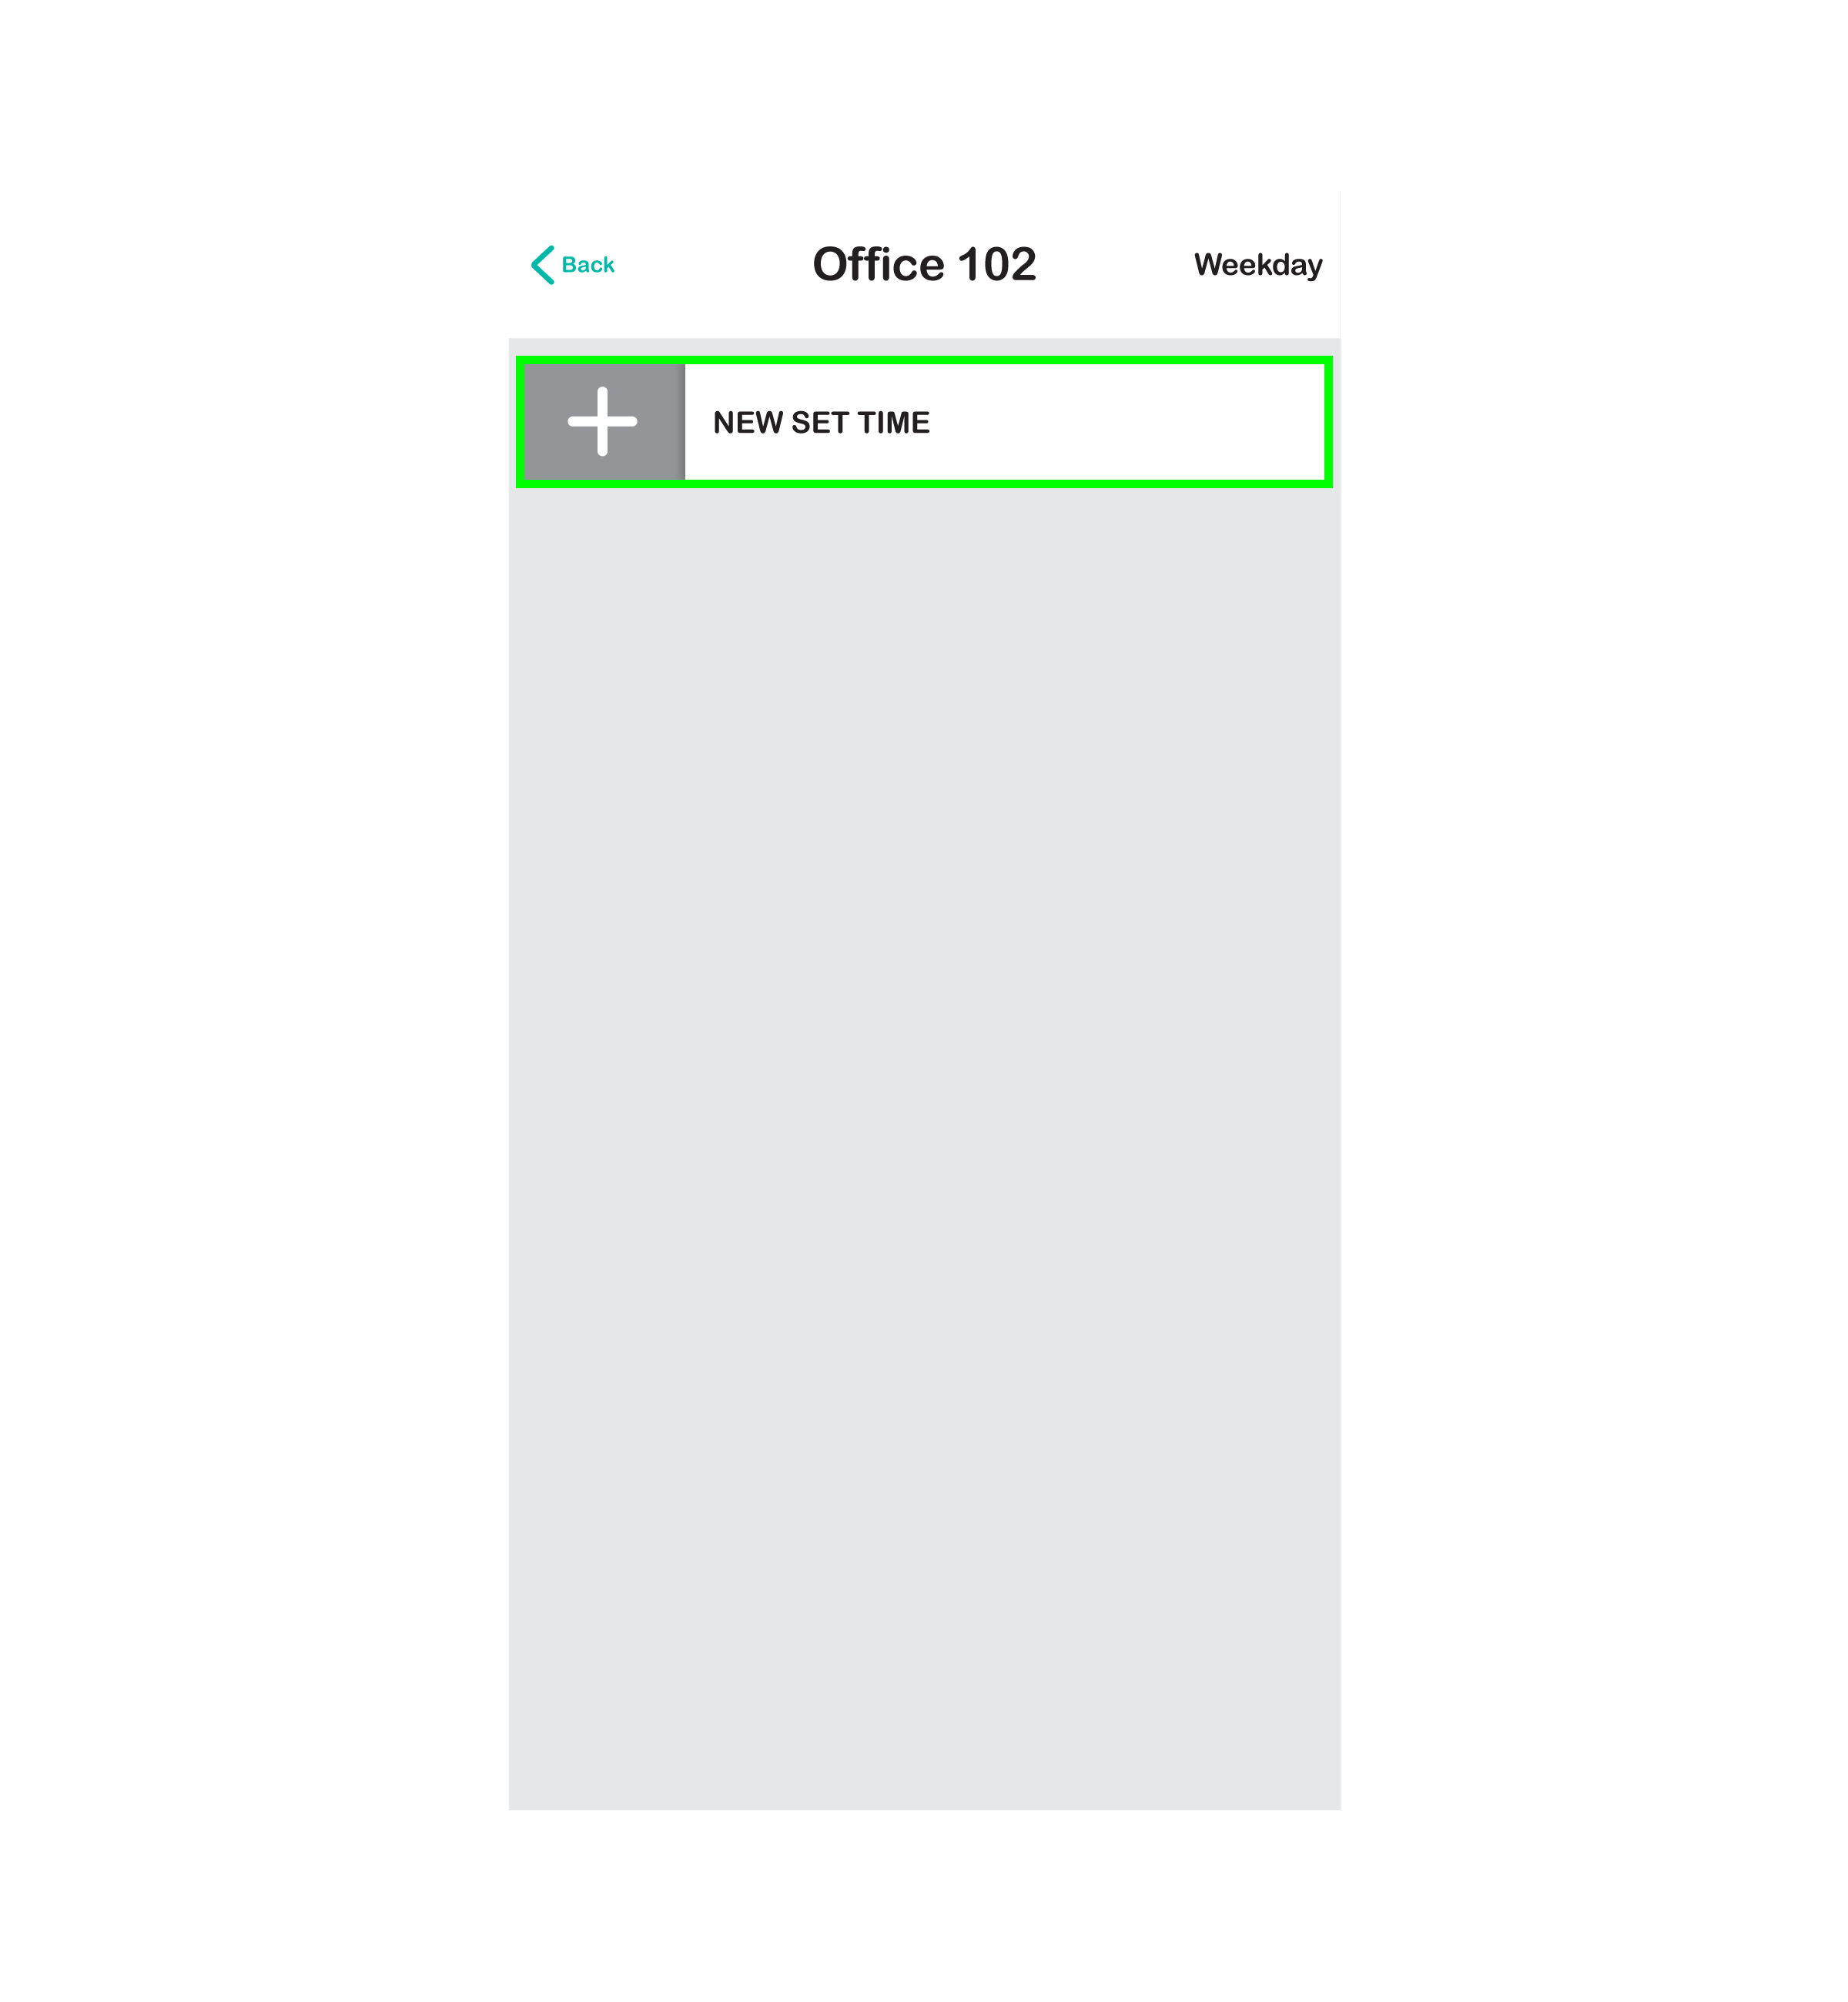
9. For our Monday-Friday scheduling page we are going to create our first set times by selecting the + button next to New Set Time. Each set time we create represents when and the configurations under that set time represent what we want our rooms to be at through-out the day. You can have up to twelve set times per thermostat per day.
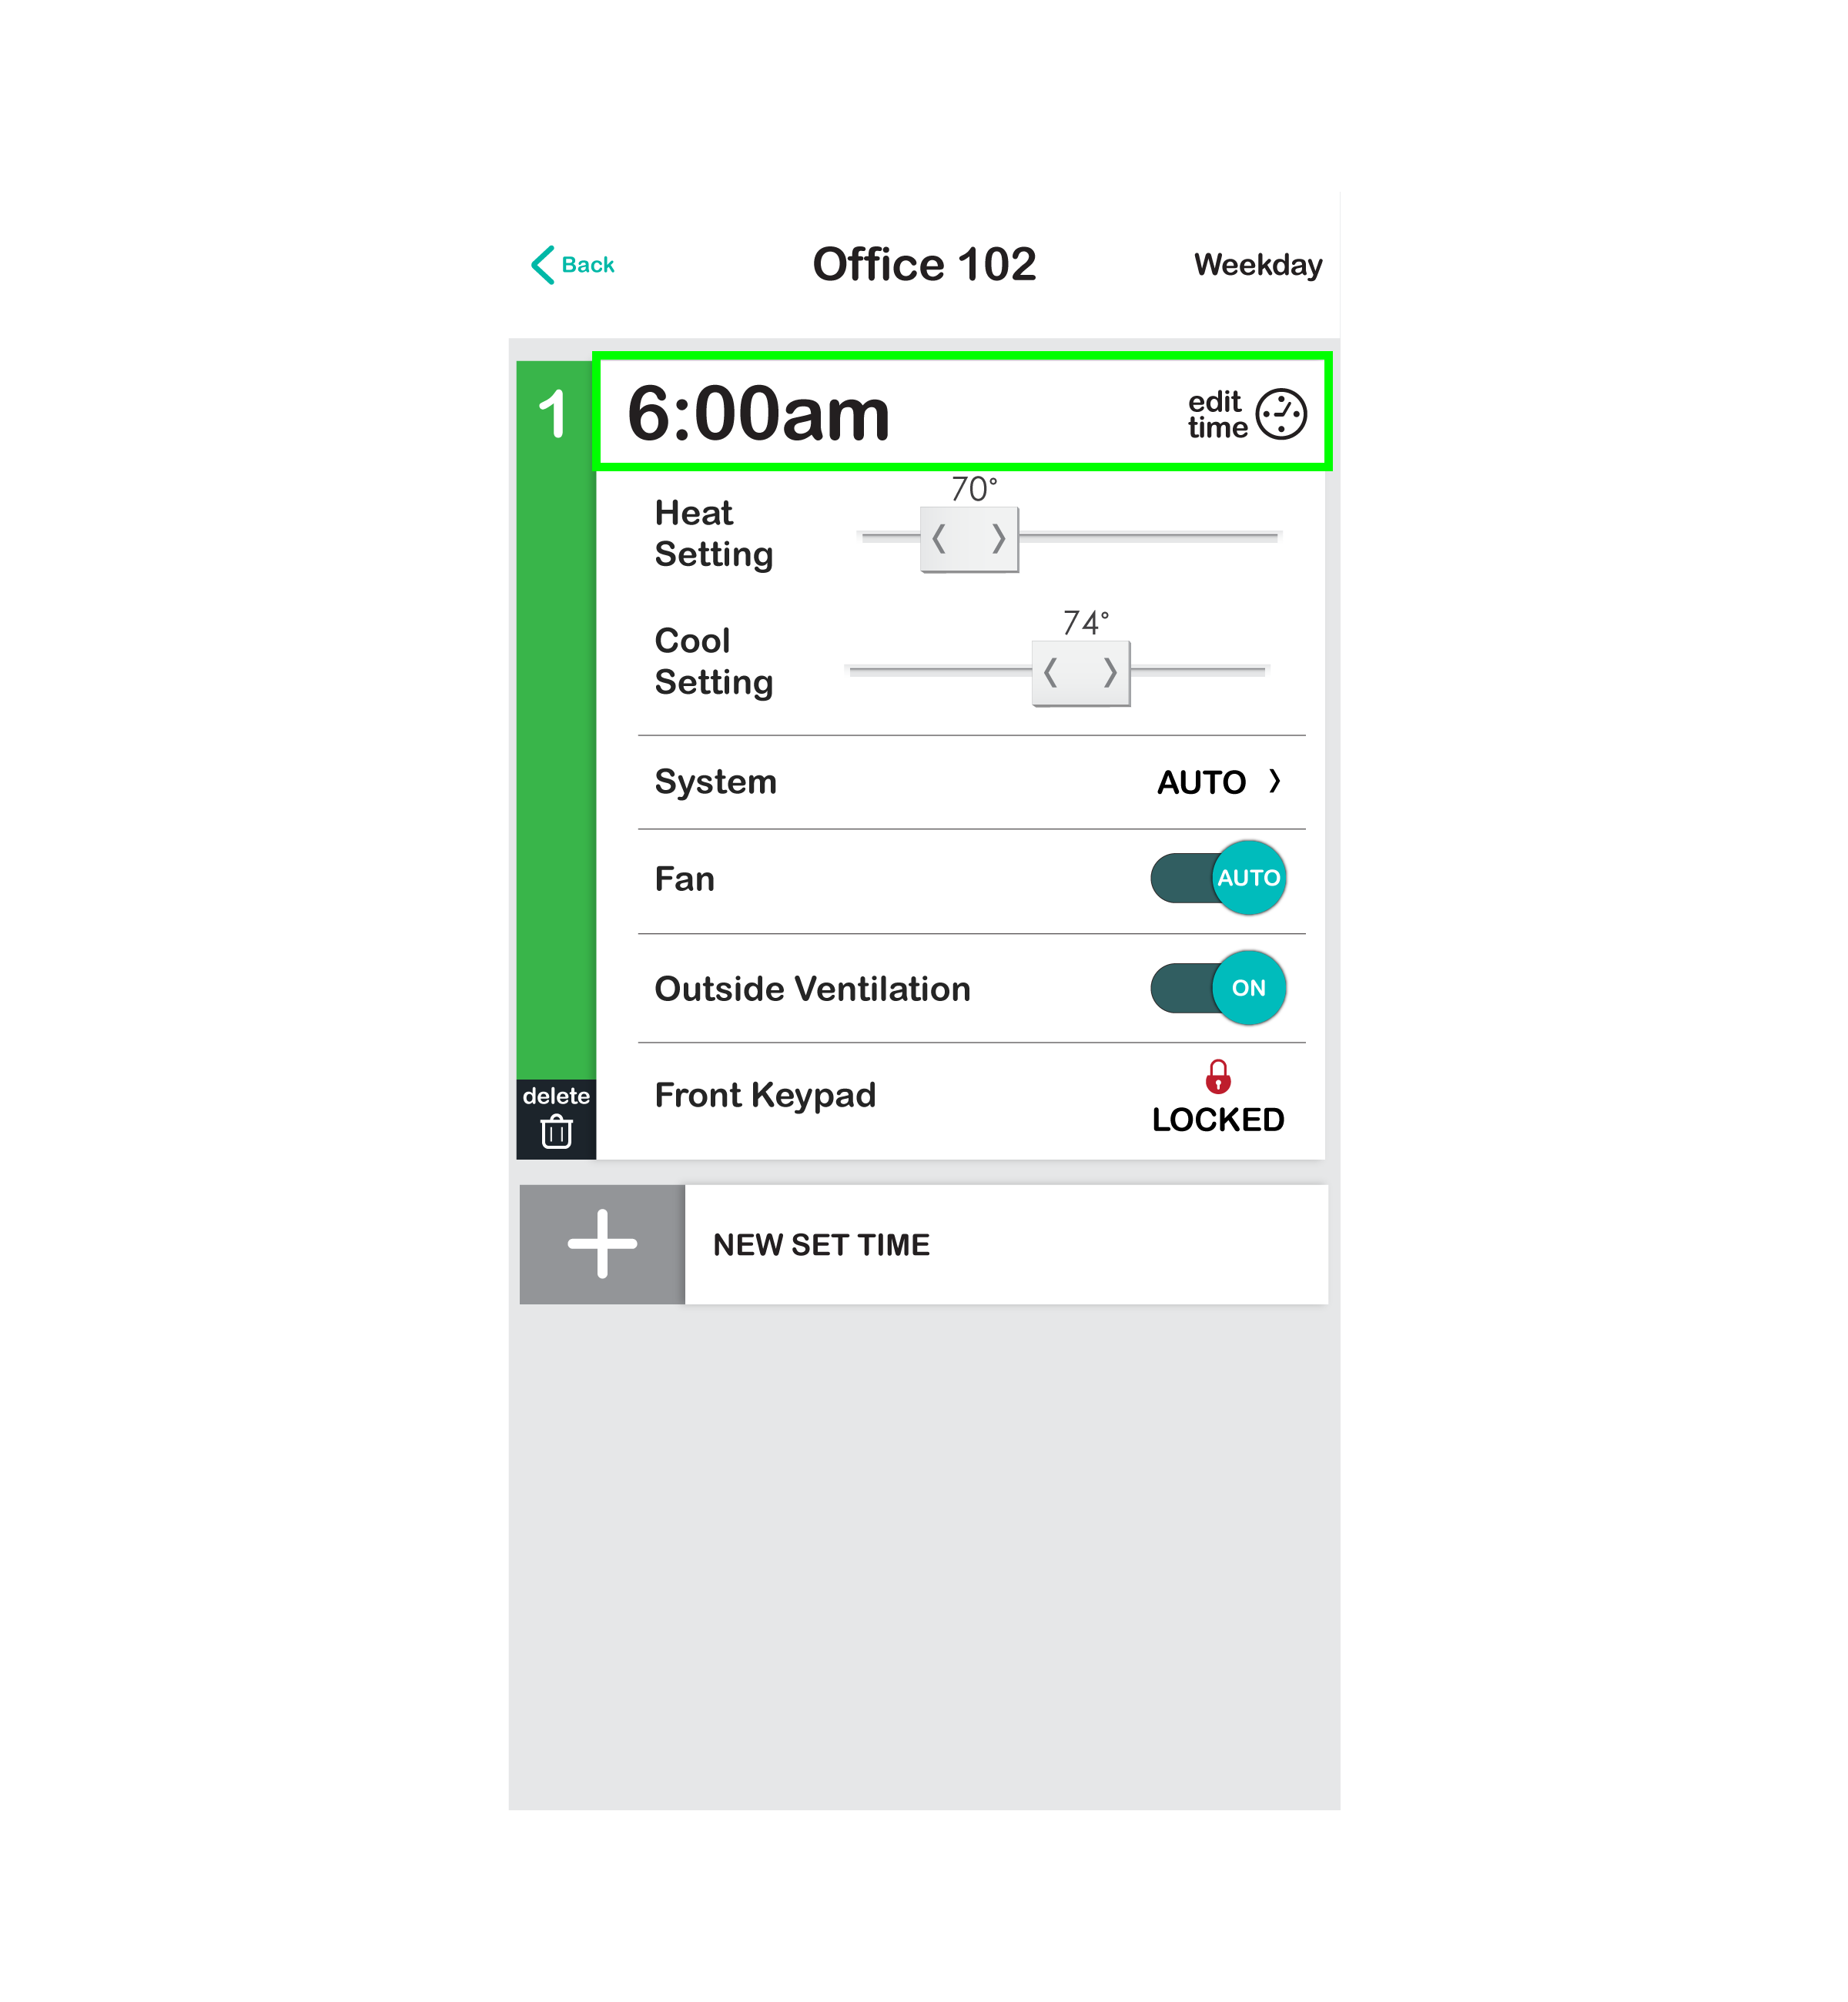
10. First things first, lets set our first set time to when our company start work, 6:30 AM. To do this, we select the edit time button next to the time.
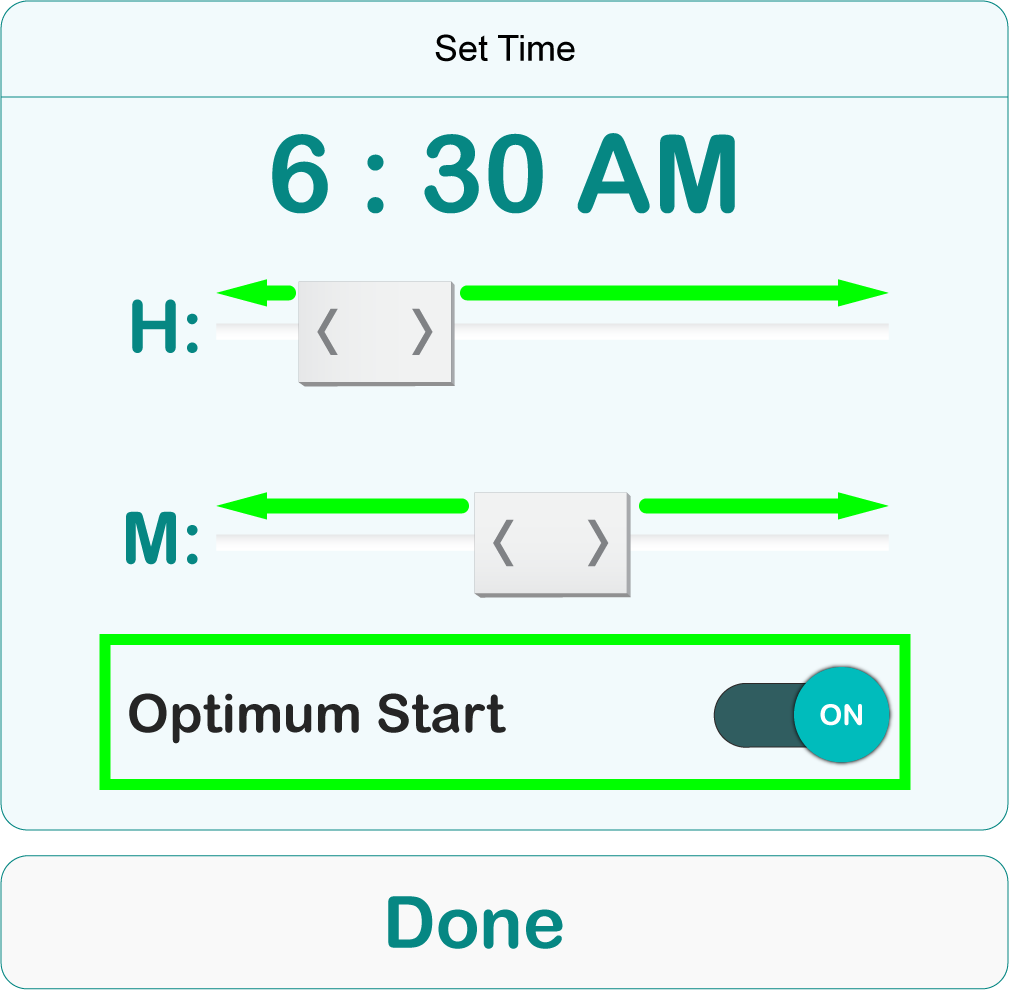
11. A Set Time pop up will appear. Move the sliders next to H to adjust the hour and the sliders next to M to adjust the minutes. We set ours to 6:30 AM.
12. Because 6:30 AM is when our business starts (IE: becomes occupied), we are also going to turn Optimum Start to ON.
This is optional, but Optimum Start tell the thermostat to calculate for us, what time to start the room’s heating or cooling to bring it to our scheduled heat and cool set-points by 6:30 AM! This makes our scheduling lives a lot easier, more dynamic, and much more energy efficient than guessing what time to turn on heating or cooling to pre-heat or pre-cool the room before people arrive at work. To learn more about Optimum Start, click here.
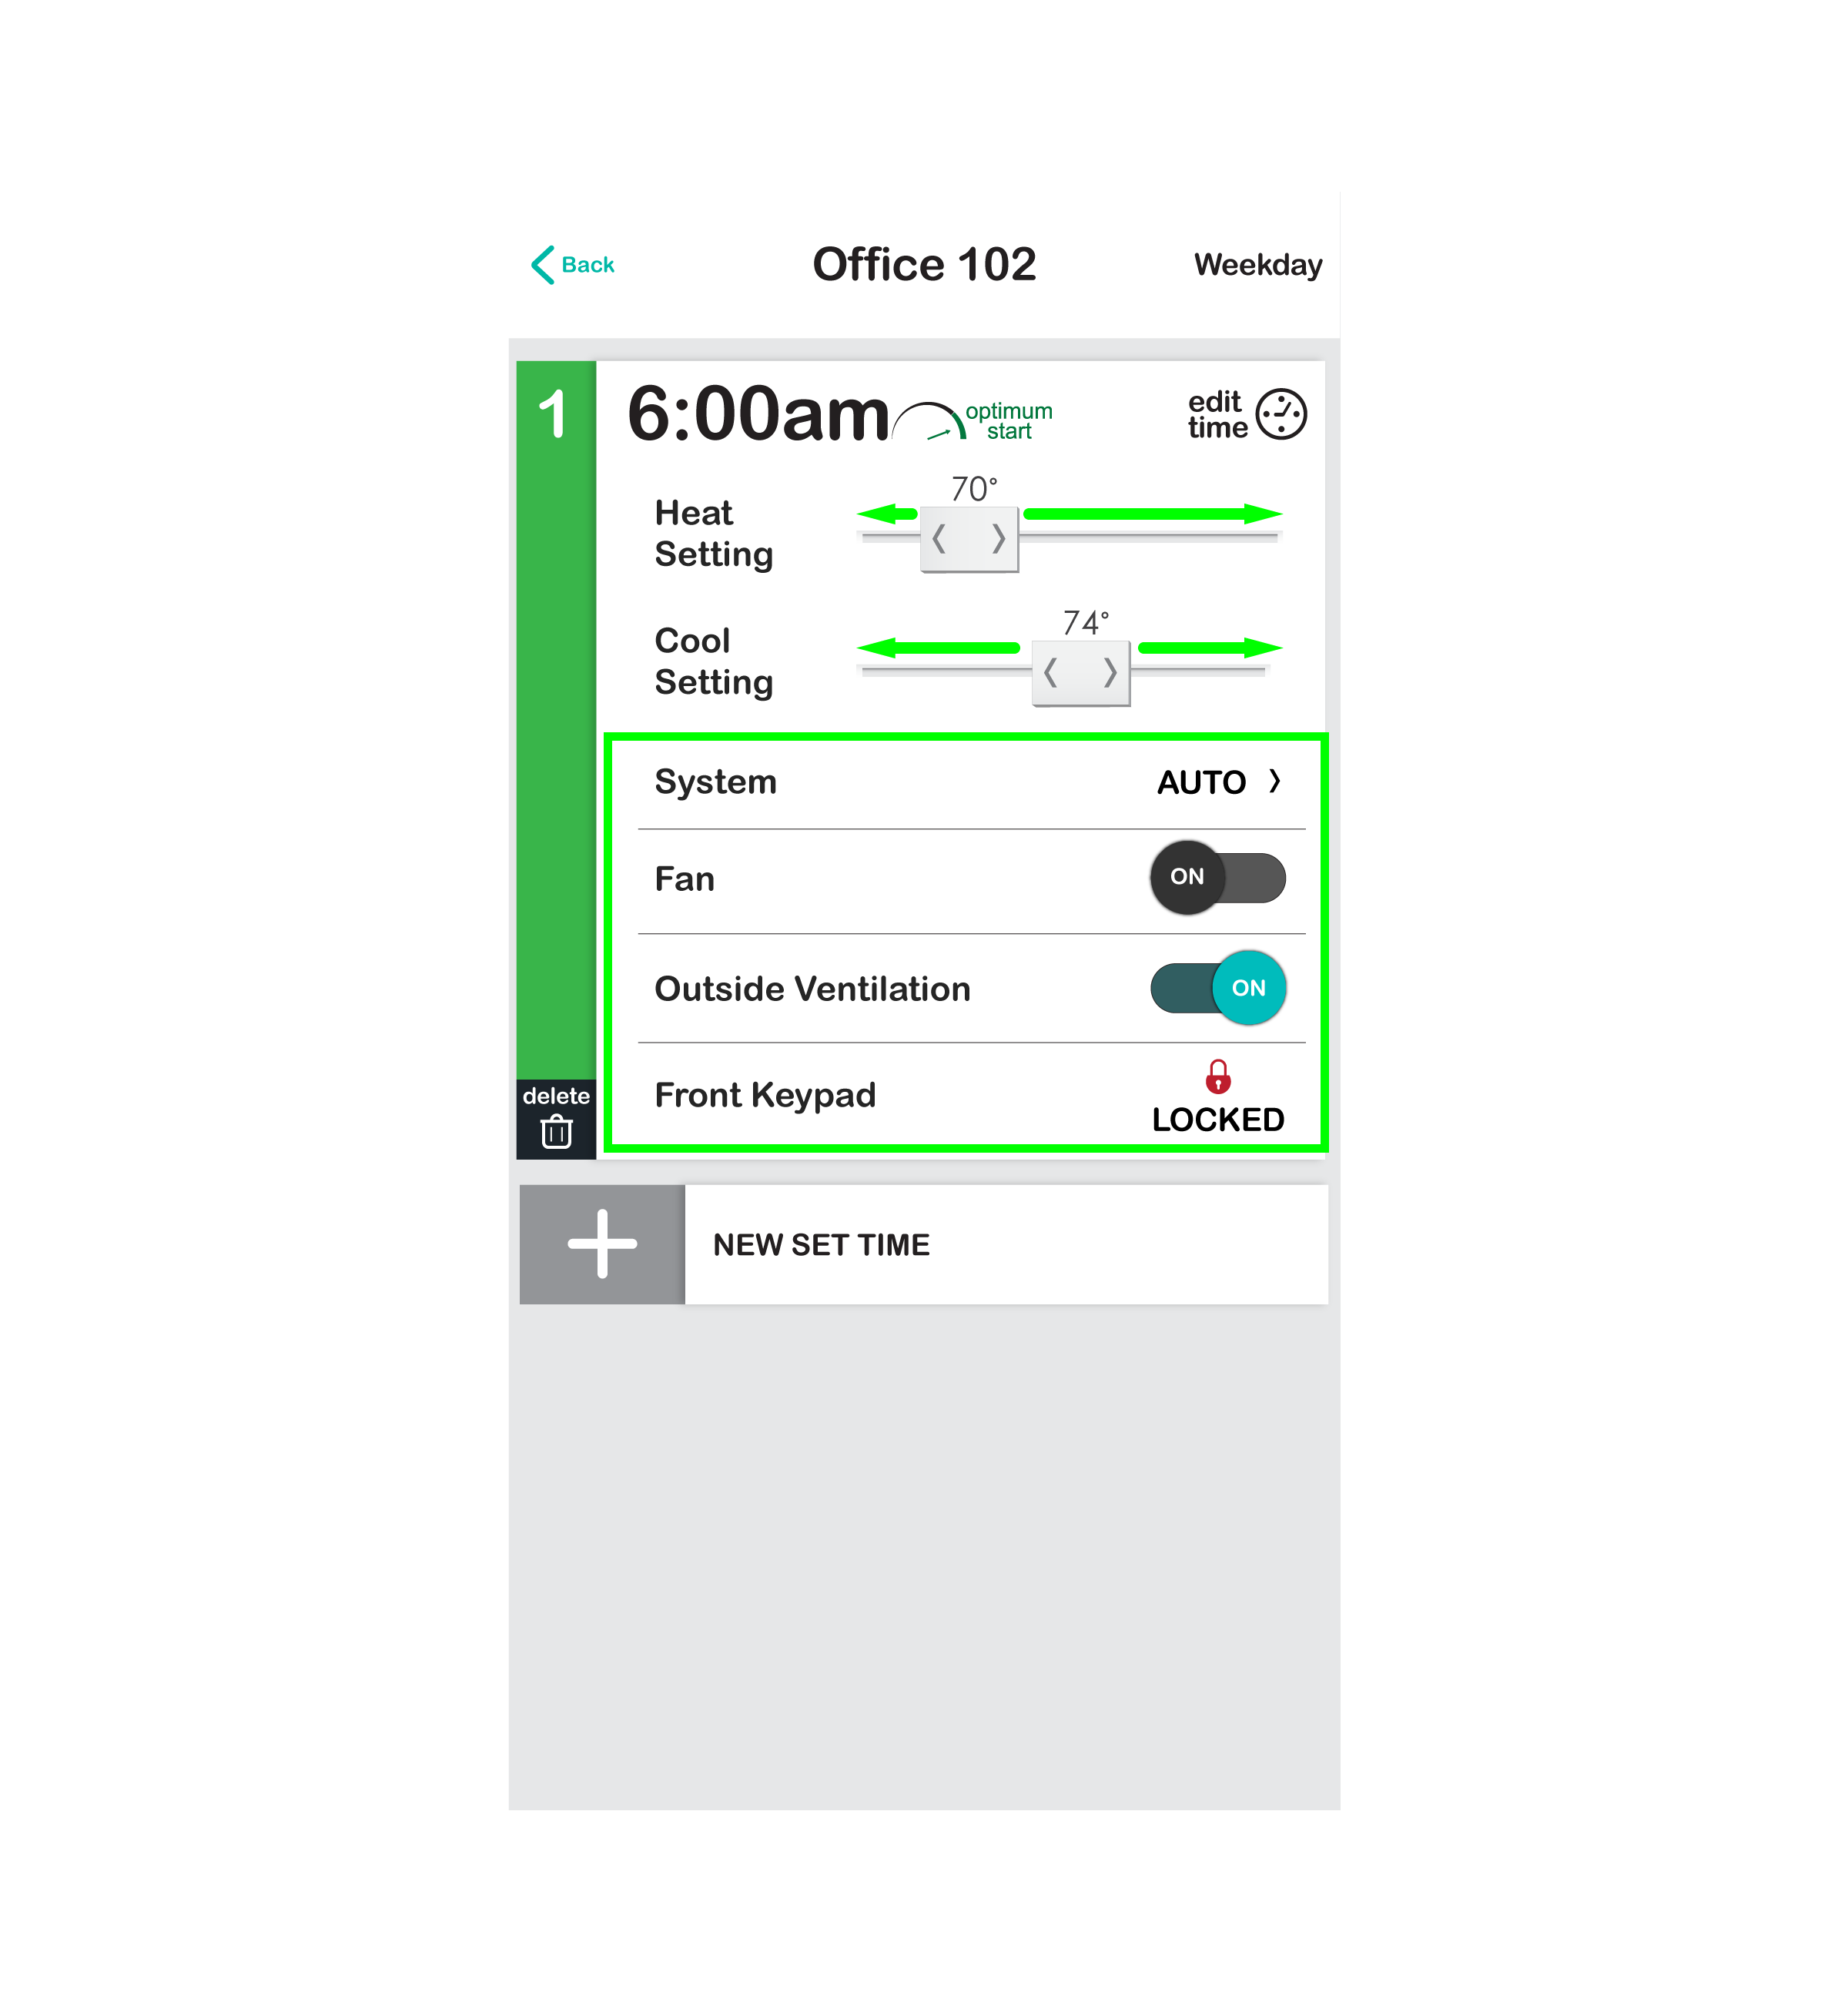
13. Now that we have our time set and Optimum Start to ON, we can press DONE and finish setting up our first set time configurations.
14. Changing a set time’s System setting adjusts what set-points the thermostat will have at this time. Since this is our start-of-day time, we are going to keep System set to AUTO, so that we gain both a heat and cool set-point. We have adjusted the Heat Setting to 70°F and Cool Setting to 74°F by moving the set-point sliders left and right. This sets what temperature we want the room to be at at 6:30 AM.
15. We set the Fan to ON because our commercial building state and local codes require the fan to be running during all occupied hours (and it is nice to work in a freshly ventilated space).
16. And, because this room has a Pelican PEARL economizer controller, we scheduled Outside Ventilation to ON. To learn more about Outside Ventilation, click here.
17. Finally, we are Locking the thermostat’s Front Keypad since we don’t want anyone tampering with the thermostat during occupied hours. This is optional, if you leave Front Keypad set to Unlocked it means the thermostat’s front keypad will be unlocked, so temperatures can be adjusted between schedules.
18. That is it for our first set time. We are now going to add a second set time and use it to sets back the thermostat when our business closes (unoccupied periods). We followed the same process outlined above for our second set time, starting with selecting the + button next to New Set Time.
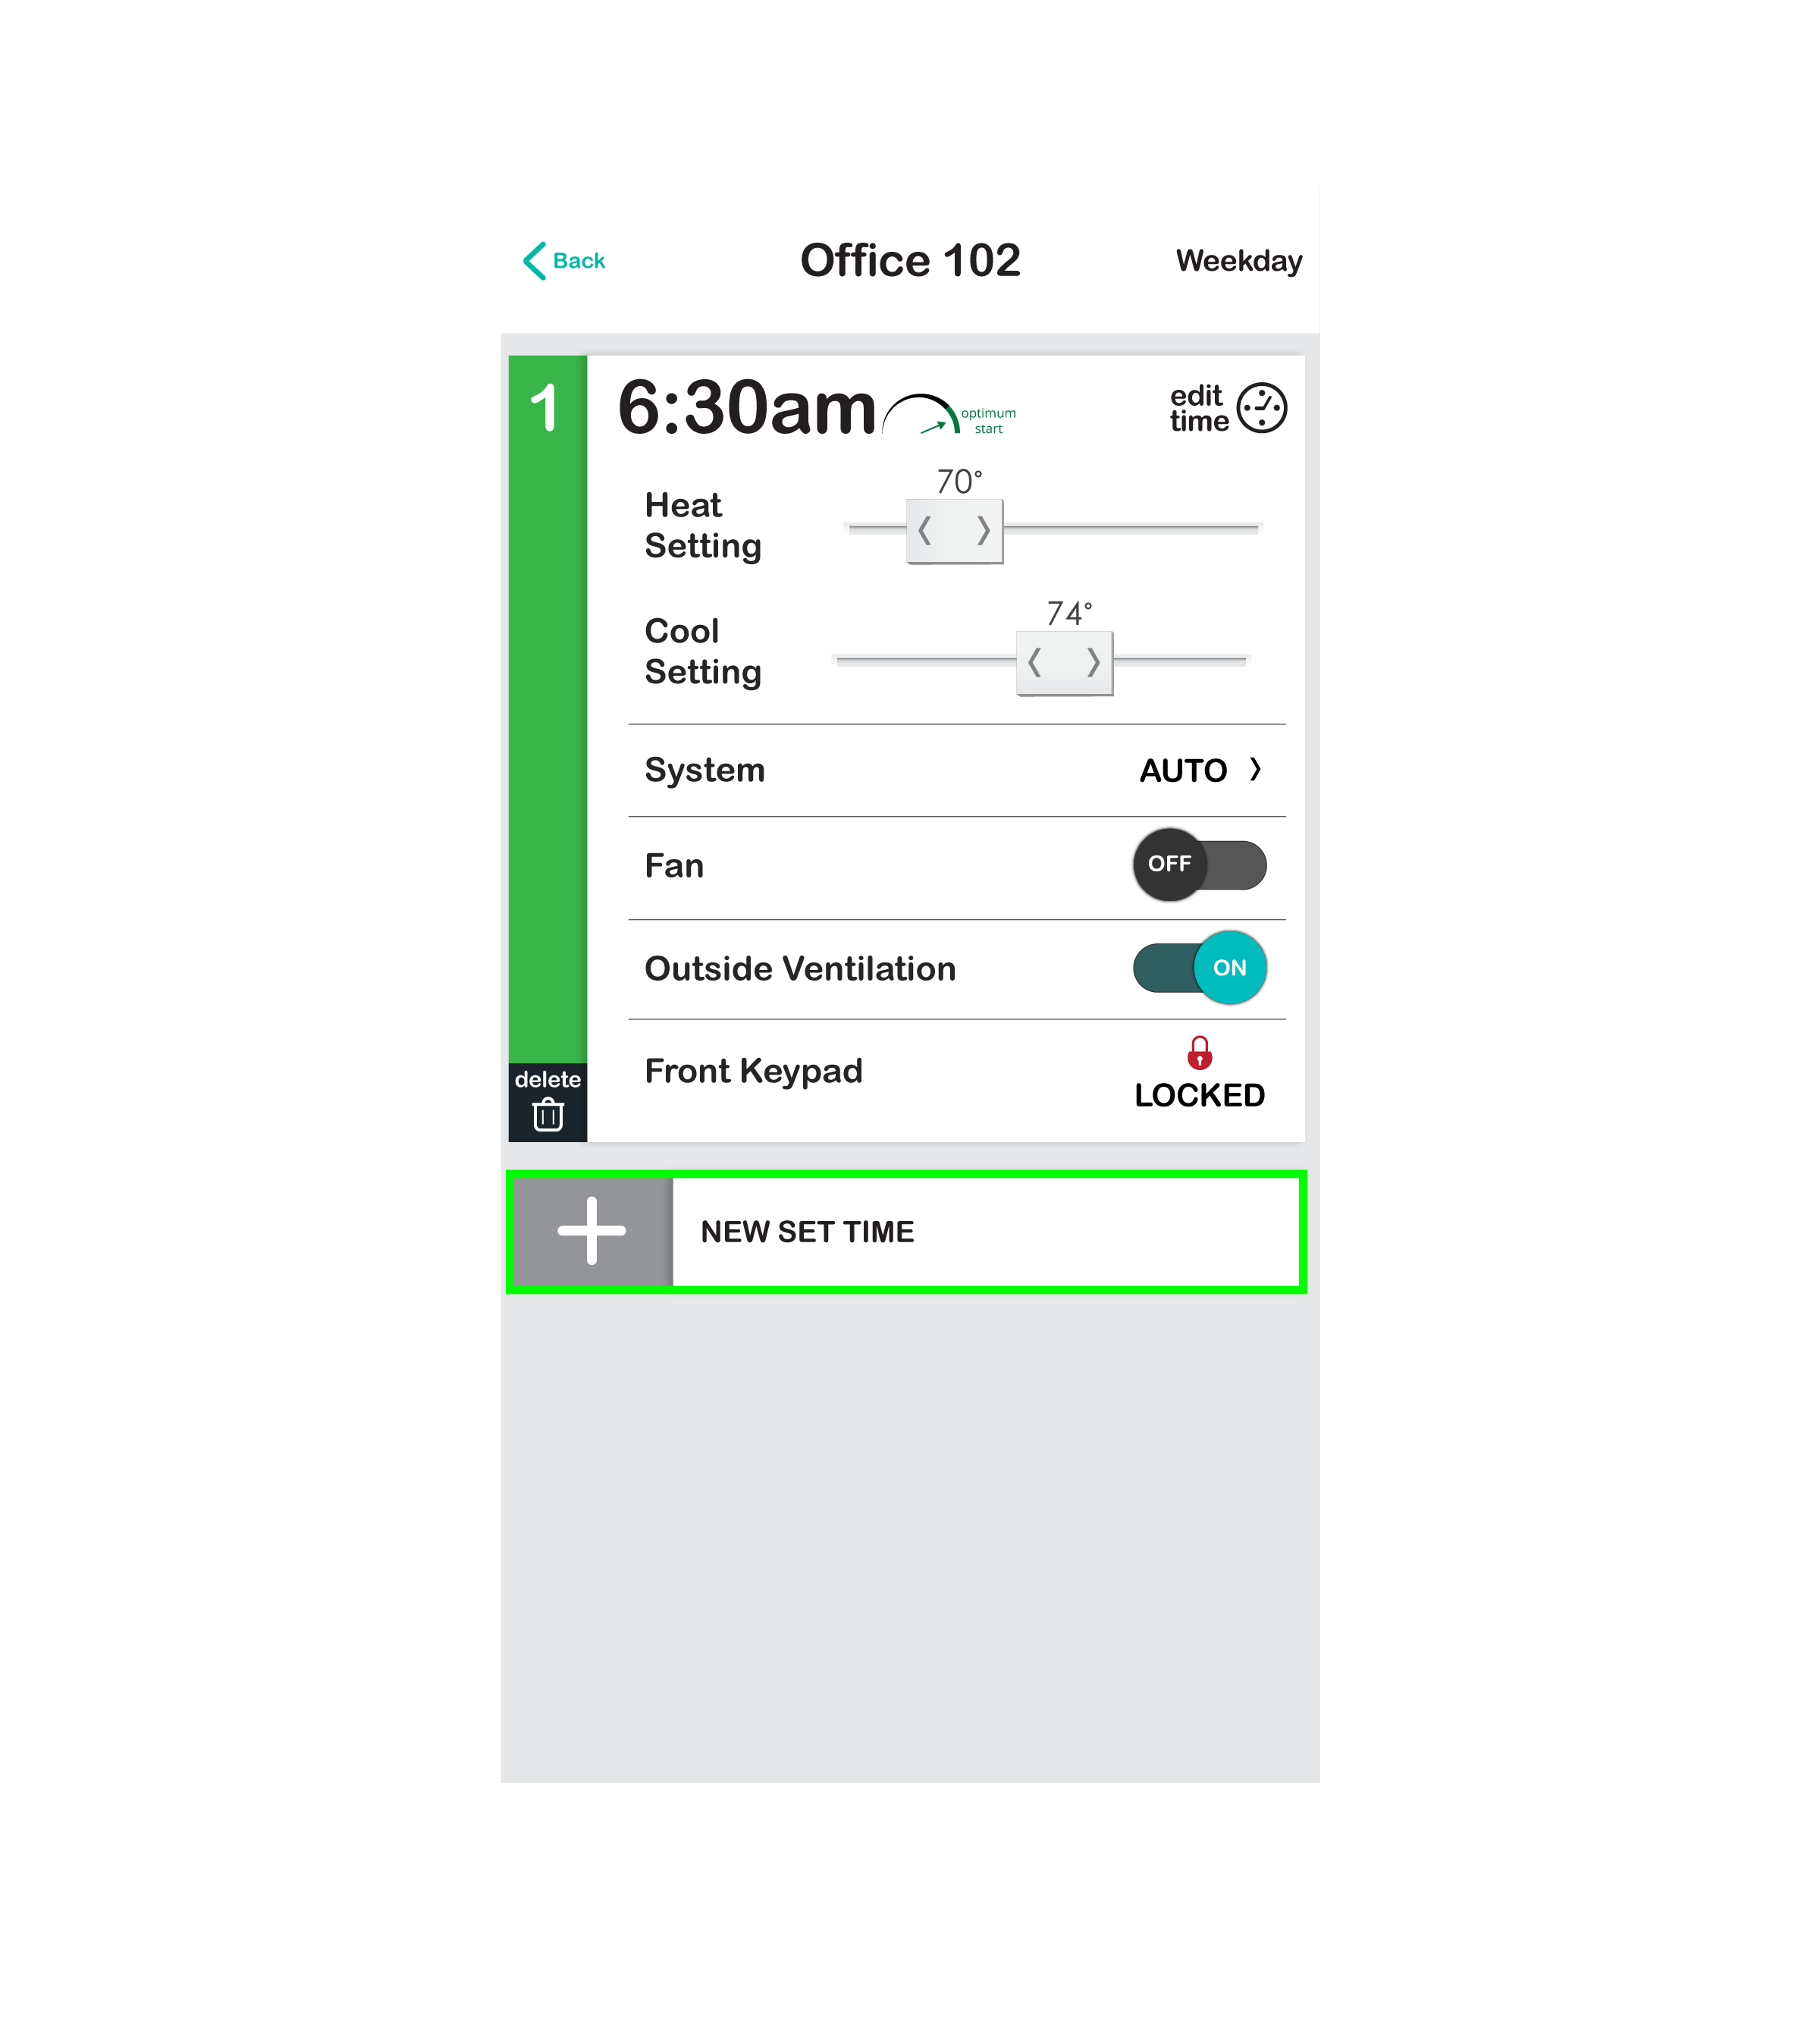
19. We now have set time 2 on our schedule list. Because our business closes at 7:00 PM, we changed set time 2 to 7:00 PM and set Optimum Start to OFF.
20. We set System to AUTO, but changed our Heat Setting to 50° and our Cool Setting to 85° since no one will be in the room, so we don’t need to maintain a comfortable room temperature. We set the Fan to AUTO, since it doesn’t need to run all night, and set Outside Ventilation to OFF since the building will be unoccupied and we don’t need to ventilate during these hours.
21. As for the Front Keypad, we are going to Unlock it at this time, just in case someone is ambitious and decides to work late hours and needs to turn on the thermostat (we love those employees, I mean they are working late, its the least we can do).
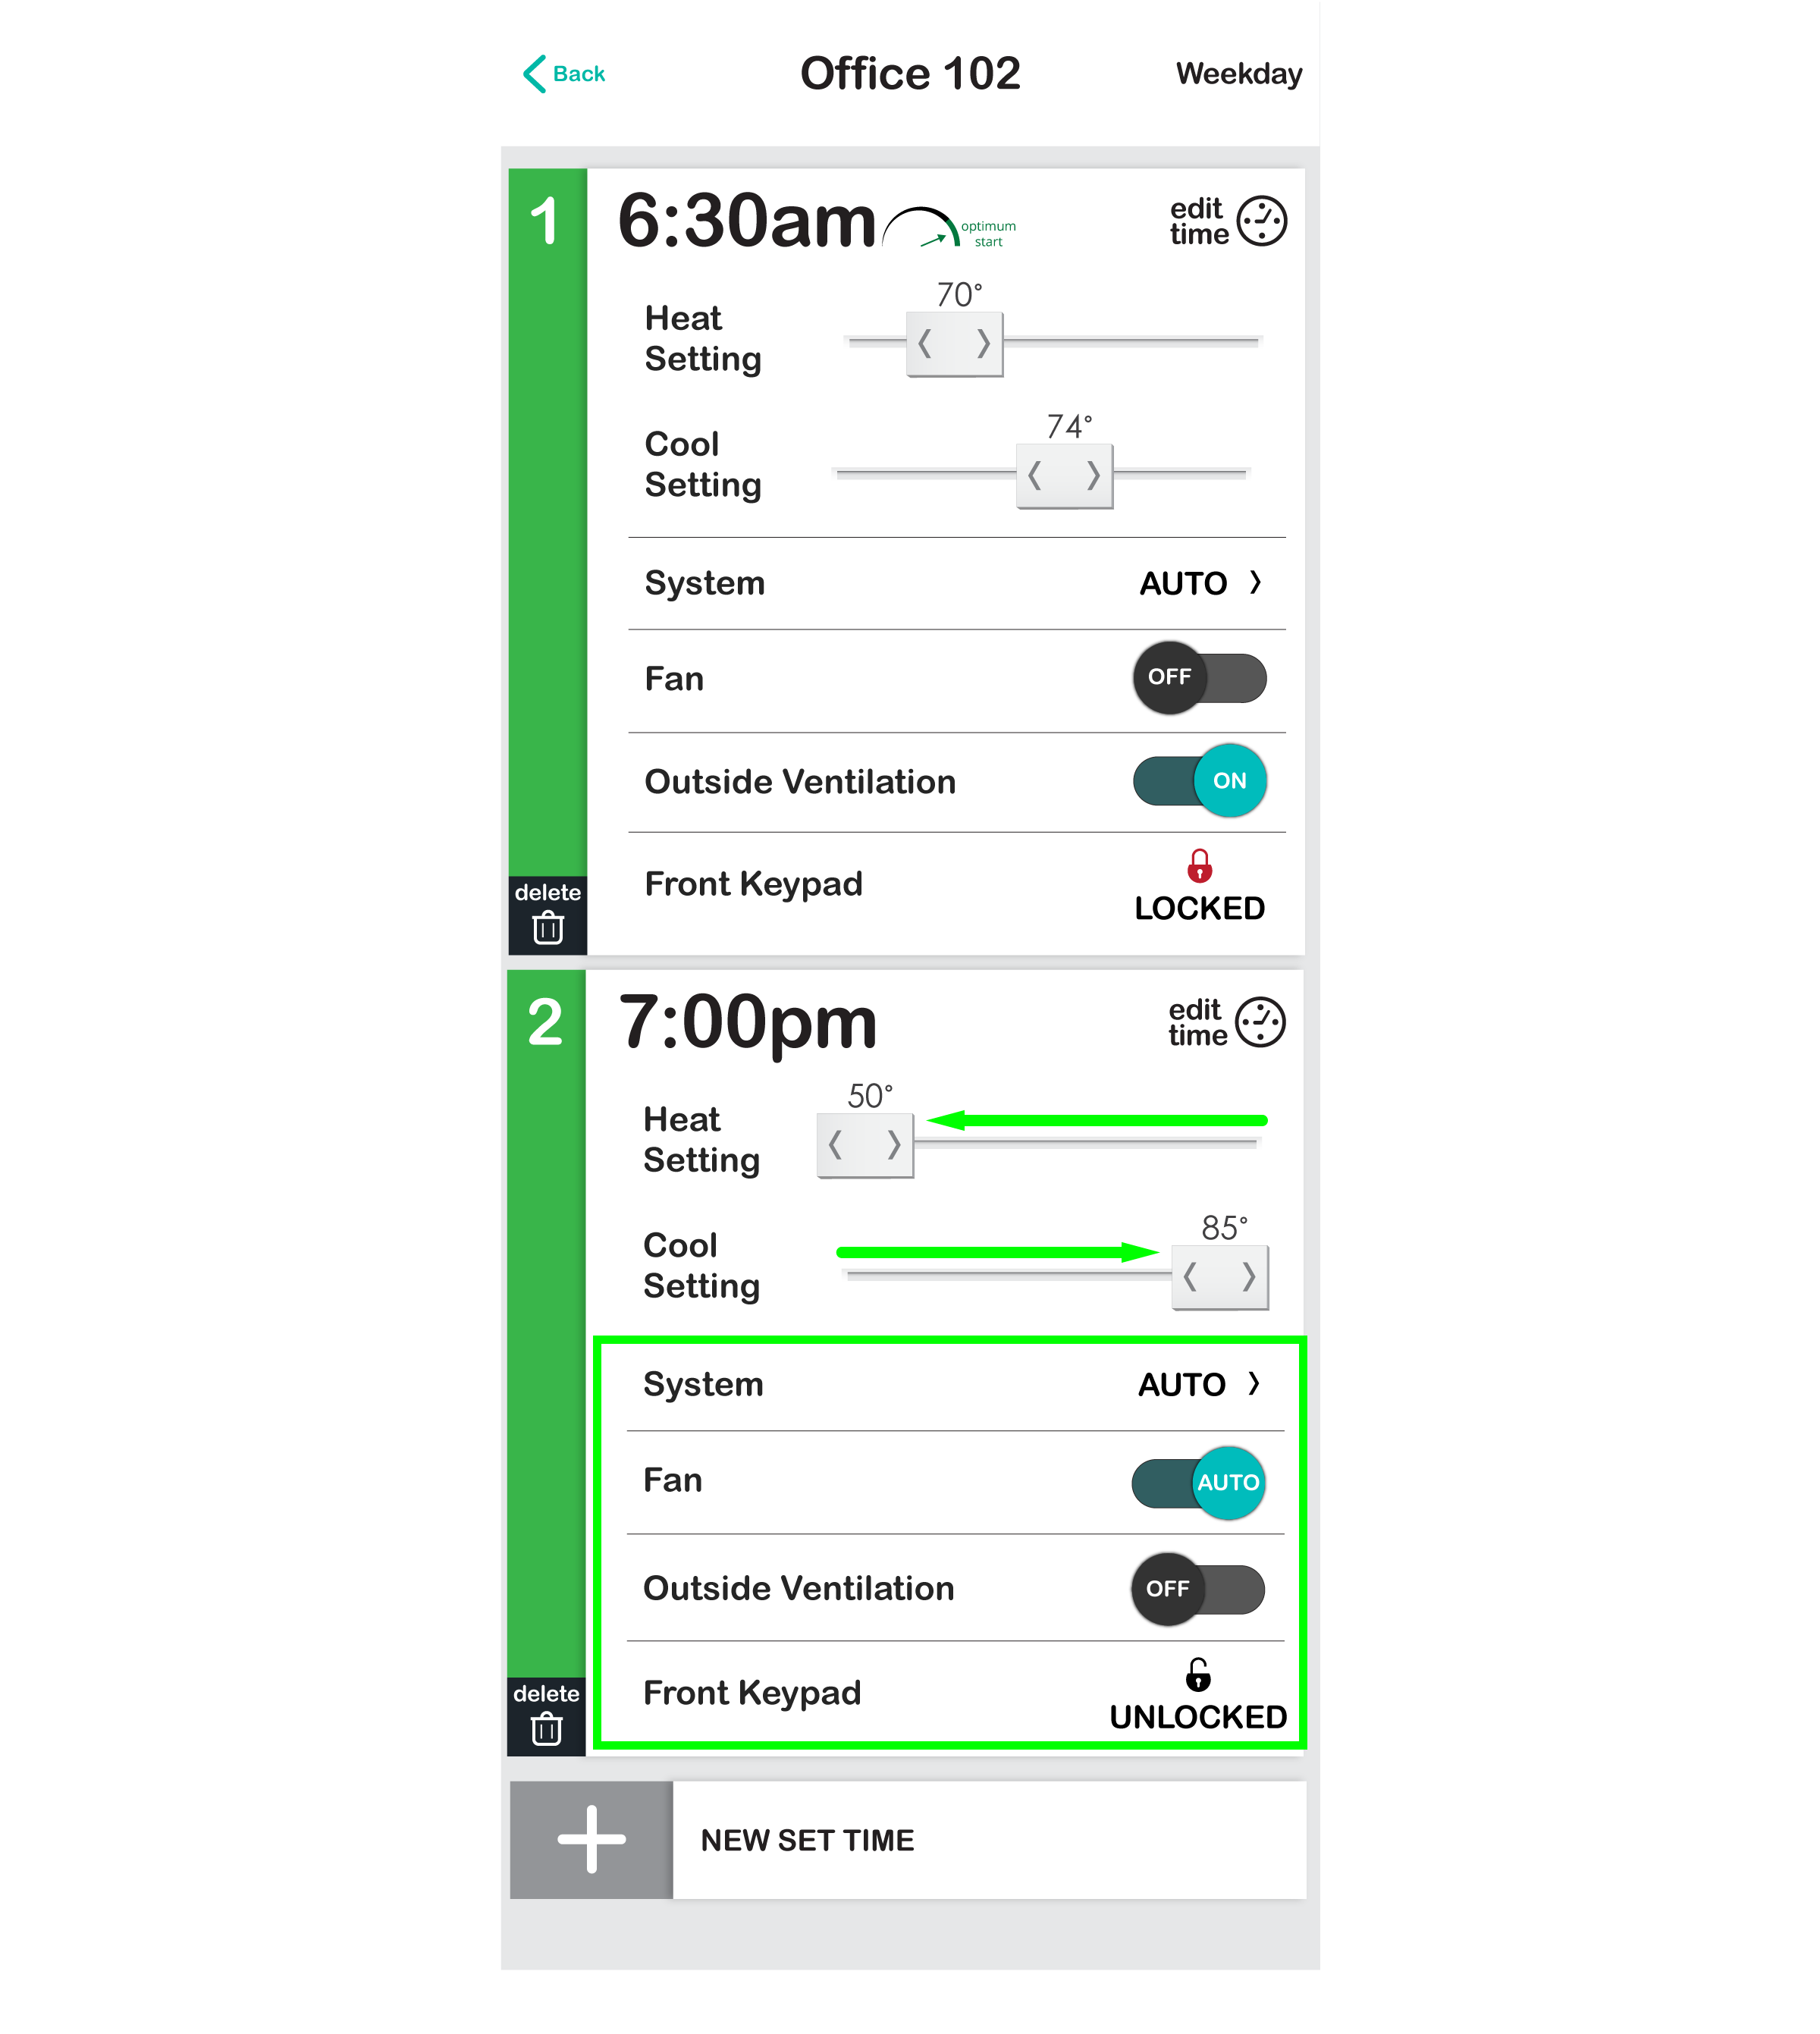
22. We could be done at this point, and if we were, we would press the back button in the upper left hand corner of the page and this new schedule will automatically be downloaded into the thermostat.
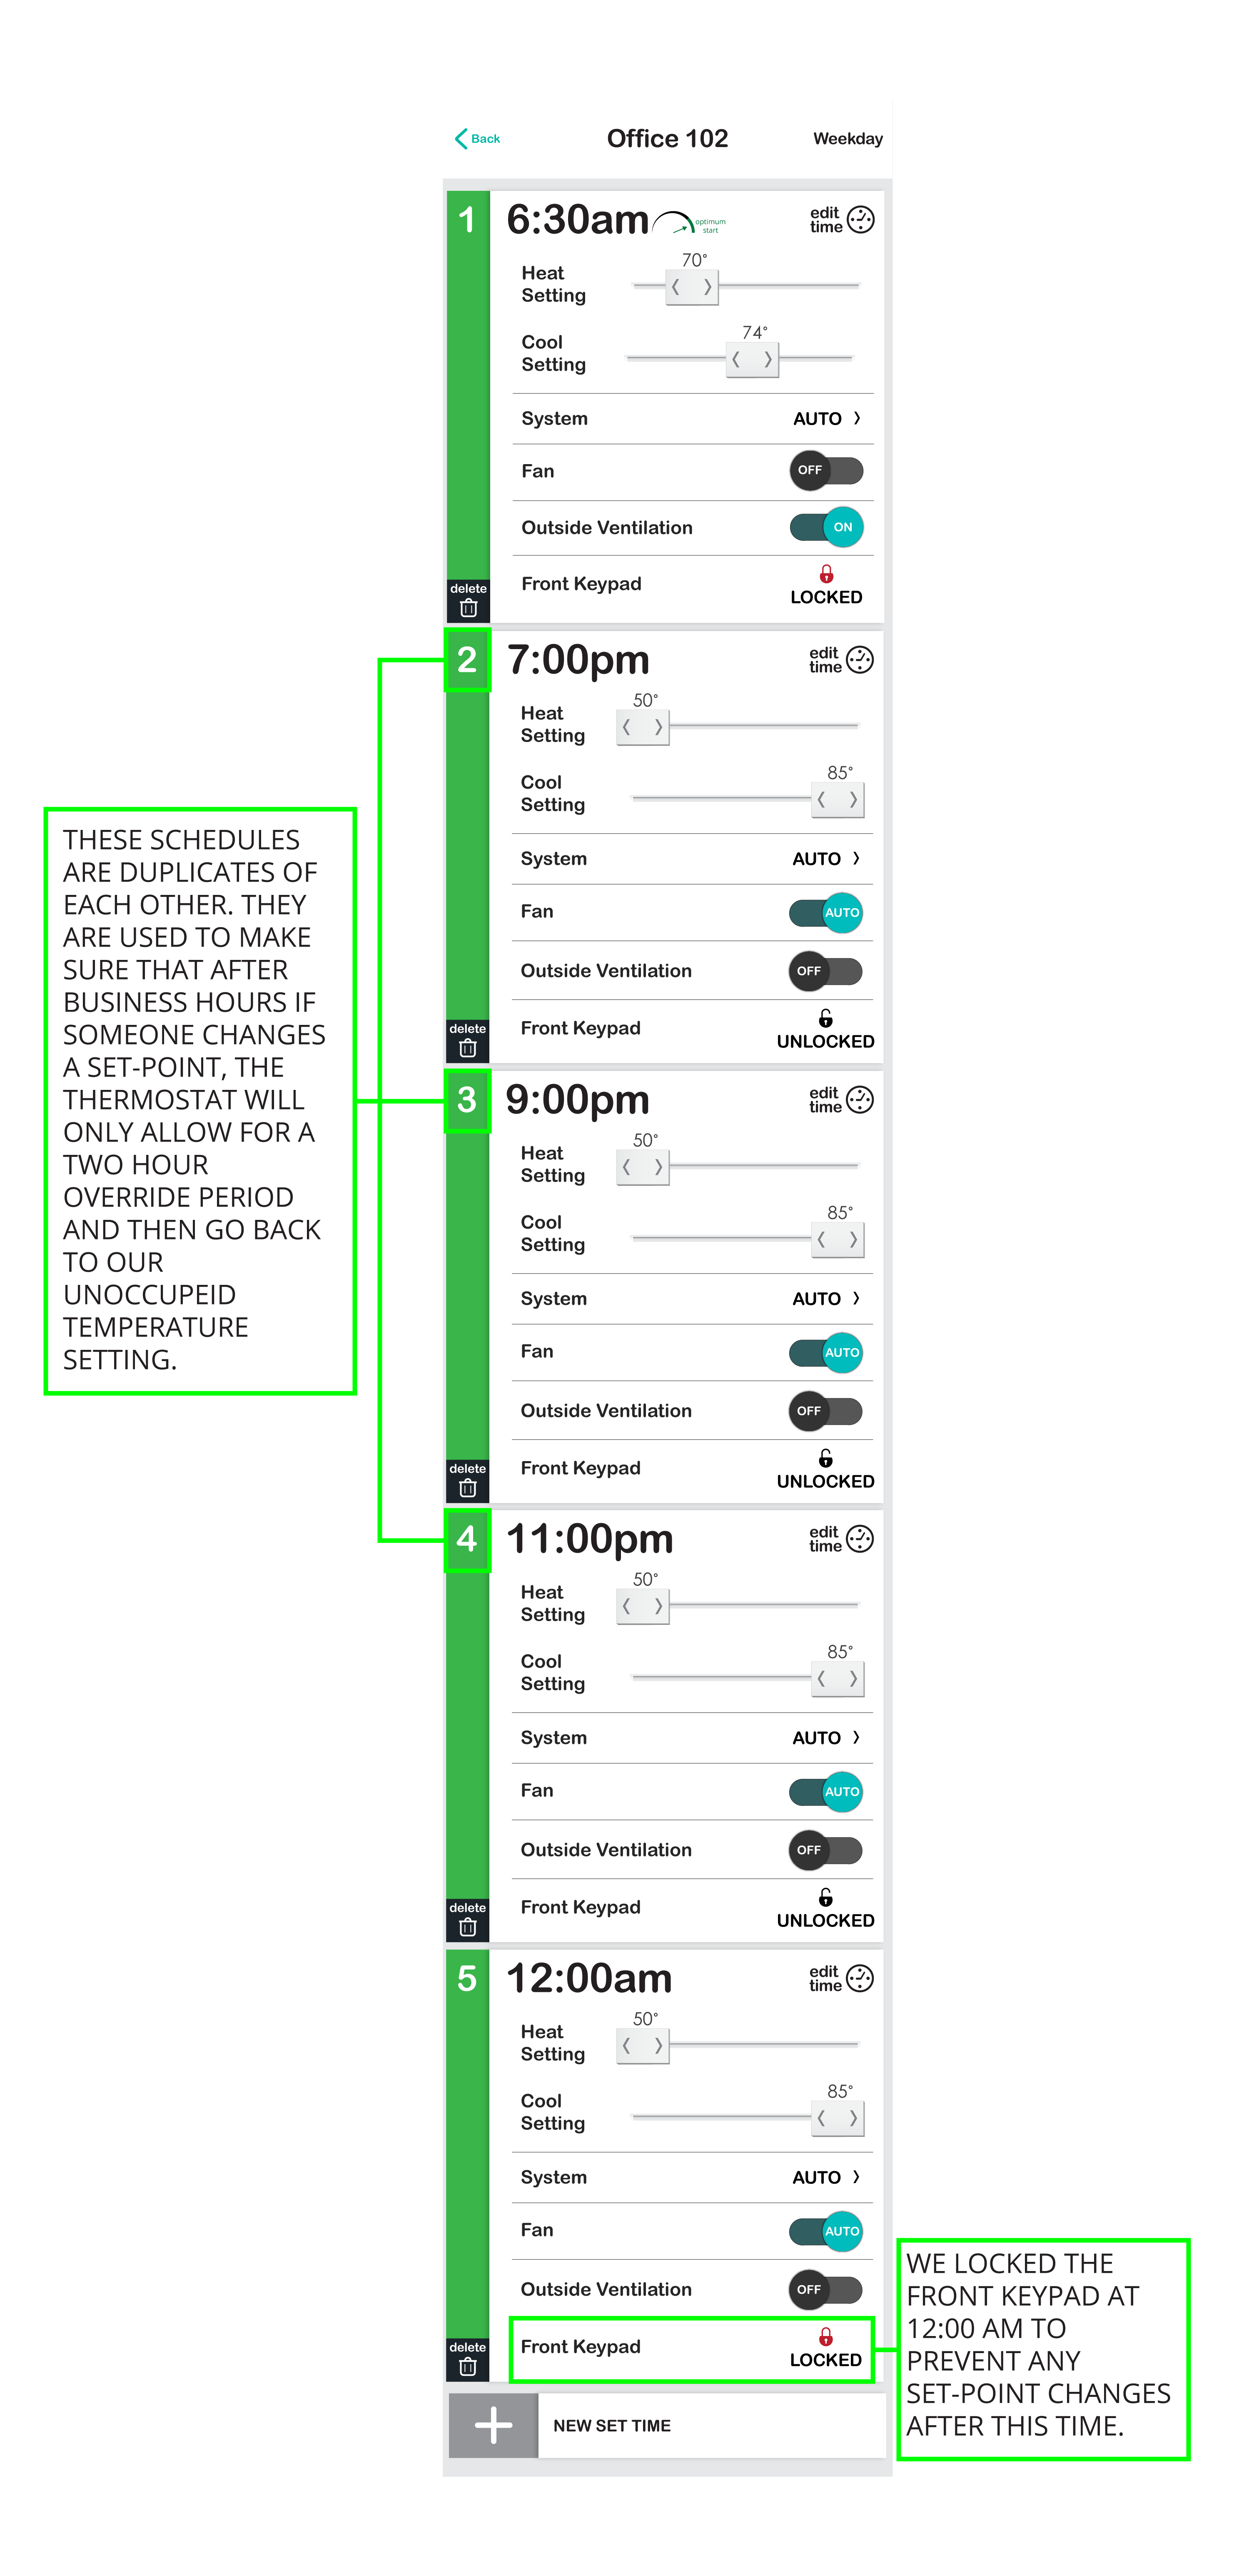
23. But, because we have the thermostat’s keypad unlocked after 7:00 PM, we are going to add a few more set times (until 12:00 AM) to places the thermostat back to our unoccupied temperature set-points, just in case someone walks up to the thermostat, turns it on, and forgets to set it back when they leave for the night.
24. At 12:00 AM we then lock the thermostat’s keypad, to prevent thermostat tampering, since no one should be working that late (they can work from home).
25. In our example below, we added four more set-times, which means we have a total of five set times. Set times two, three, and four are all the same and are used to set our room back to its unoccupied temperature settings every two hours. Set time 5 is our 12:00 AM time, which locks the front keypad to prevent tampering.
26. That’s it! Just press the back button in the upper left hand corner of your screen and this schedule will be save and pushed to your Room thermostat (yes, it is stored in the cloud and inside the thermostat). From here we can add our Saturday-Sunday schedule and schedule our other Rooms by following the same process as outline above.
If you are interested in learning how to share schedules between thermostats, click here.
Editing a Schedule
1. To edit a thermostat’s schedule, navigate to a room’s climate control page and select the button labeled Schedule to access the room’s primary schedule.
2. Select one of the “days” or “day ranges” to change the schedule for that period.
3. You can make changes to current set-times by adjusting the current settings. and you can add a new set time by pressing the + NEW SET TIME button at the bottom of the page. If you need to delete a set-time, press the Delete button with a trash can icon in the bottom left hand corner of the set-time box.
4. Once you have made all your adjustments, just press the Back button in the upper left hand corner of the page and the new schedule will be saved and automatically pushed to the thermostat.
Deleting a Schedule
1. There is no “delete” a schedule for individual thermostat schedules. This is because they can be adjusted at anytime to match your schedule or you can turn the schedule OFF.
2. To turn a thermostat’s schedule OFF, navigate to a room’s climate control page and select the button labeled Schedule to access the room’s primary schedule.
3. Select the drop down labeled Schedule, and select OFF to disable the thermostat’s schedule.

